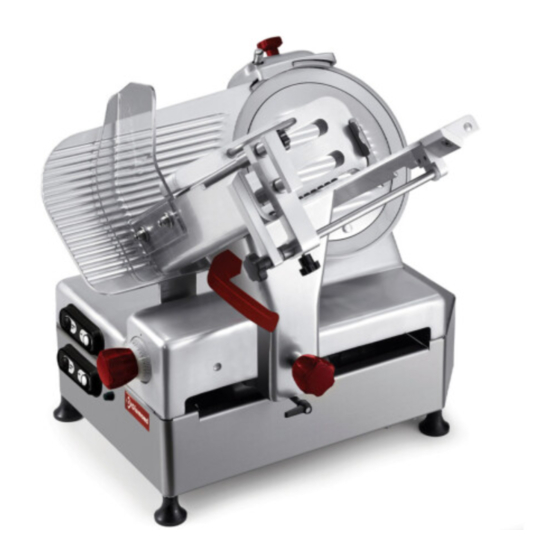
Diamond 330 Manuel d'utilisation et d'entretien - Page 12
Parcourez en ligne ou téléchargez le pdf Manuel d'utilisation et d'entretien pour {nom_de_la_catégorie} Diamond 330. Diamond 330 16 pages. Ce professional slicer

CHAP. 5 - USING THE MACHINE
5.1 - OPERATIONAL CHECK
When the slicer is used for the first
time, proceed with the following
instructions:
check the slicer is correctly installed
-
refer to chap. 2;
check that the hopper is securely
-
fastened utilising the lock knob (Fig.
n°39 ref.1);
check the hopper travels freely and
-
there are no obstacles on the counter
(Fig. n°40 ref.a);
check the product pusher can be
-
raised and lowered easily and
movement is not impeded in any way;
check the thickness gauge opens and
-
closes correctly by turning the thick-
ness selection knob clockwise and
anti-clockwise (Fig. n°41 ref.c);
check the sharpener is securely fas-
-
tened to the machine and can be eas-
ily removed and free of obstacles
(Fig. n°42 ref.d).
Fig. n°39
a
Fig. n°40
c
Fig. n°41
Fig. n°42
20
5.2 - LOADING AND CUTTING THE PRODUCT
WARNING: The goods to be cut are loaded on the hopper only with the gradua-
ted hand grip at "0" and the motor stopped, being careful with the blade and the
points.
Proceed as follows:
1. position the adjustable product
holder so as to leave sufficient
space for loading the food product;
2. move the product pusher to the right
1
so as to leave sufficient space for
loading the food product.
3. load the food product;
4. move the adjustable product holder
b
up against the food product and
secure in place utilising the purpose
knob (this prevents the product from
moving when being sliced);
5. position the product pusher on the
product (this product pusher is fairly
heavy which facilitates slicing
operations).
6. in the event there are several small
sized food products to slice, it is
possible to slice several products
simultaneously.
7. if necessary purchase additional
adjustable food product holders from
your local authorised dealer.
8. utilising the thickness selection knob
select required slicing thickness.
MANUAL SLICING
9. unlock the carriage by turning the
knob in position A (cap. 2.6 FIG. n°
25);
10. stand in a correct position to prevent
accident and injury; grip the product
pusher with your right hand and
position your left hand near the slice
guard to retrieve the slices (do not
touch the blade). Your body must
always be vertical in respect to the
counter top (Fig. n°44).
WARNING: Always stand in a
Fig. n°43
Fig. n°44
Fig. n°45
Fig. n°46
21
