AquaScape WaterWall Spillway Manuel d'instructions d'installation - Page 5
Parcourez en ligne ou téléchargez le pdf Manuel d'instructions d'installation pour {nom_de_la_catégorie} AquaScape WaterWall Spillway. AquaScape WaterWall Spillway 20 pages.

I N S T A L L A T I O N
7. Fill basin with water.
9. When using the Fountain Accent Light (included), cut off the barbed
multi-hose p lug on tubing and replace with accent light.
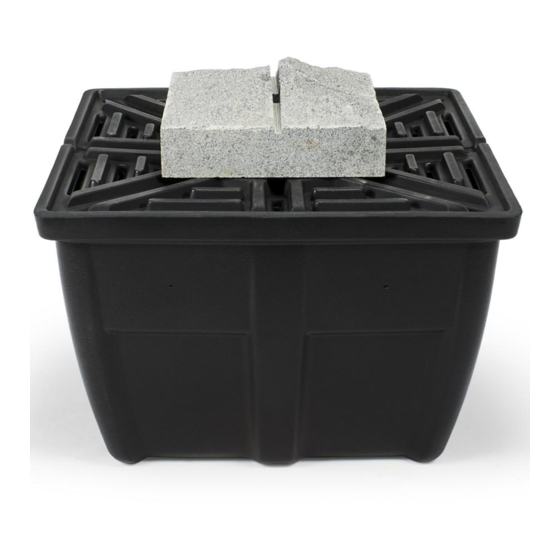
11. Slide the pump access lid over the opening in the basin and around
the plumbing. Position the center stone in the center of the basin.
☎
US 1-866-877-6637 |
I N S T R U C T I O N S
8. Insert tubing through center of the stone and through the center
pump access hole in the basin. Attach plumbing to pump.
Designated Cord Relief Notches
10. Lay the electrical cord of the pump across the top of the basin and
exit the cord using either of the two designated notches in the top edge
of the basin
Note: Fittings (bulkhead and pipe fittings) have been included for
an optional cord relief and overflow (see diagram). The cord relief is
useful for removing the pump and electrical cord without disturbing
the surround pavers, as well as direct excess water in the basin to
a desired drainage area. Run a section of pipe off the back of the
bulkhead and grade away from the edge of the patio. A drainage
area can be constructed at the end of the pipe if desired. If not using
for cord relief or overflow, a plug is included to fill the hole in the
basin. Consult a qualified electrician if the electrical cord needs to be
lengthened.
12. Flow adjustment may be necessary depending on desired flow.
Plug in pump and use the flow adjustment valve to adjust flow rate.
☎
CAN 1-866-766-3426 | www.aquascapeinc.com
Top view
Side view
Flow adjustment
valve
Drainage Area
