AquaScape WaterWall Spillway Manuel d'instructions d'installation - Page 8
Parcourez en ligne ou téléchargez le pdf Manuel d'instructions d'installation pour {nom_de_la_catégorie} AquaScape WaterWall Spillway. AquaScape WaterWall Spillway 20 pages.

I N S T A L L A T I O N
a.
b.
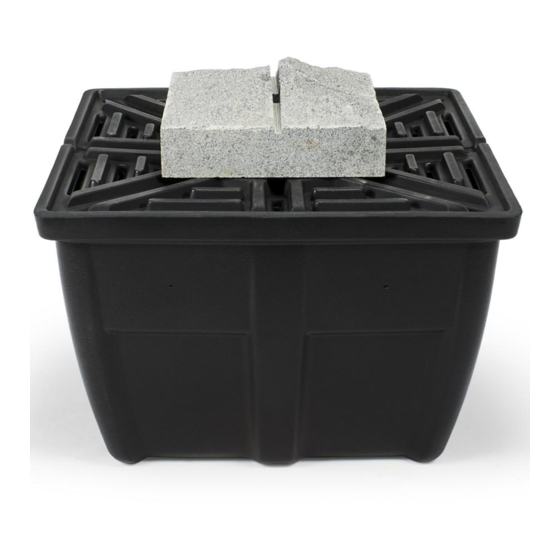
c.
d.
1. Prepare an appropriate base to lay your wall. Make sure ground is
compact and level to prevent any settling
2. (a) Thread 1 ¼" MPT x 1" barbed adapter into bulkhead and
(b) attach 1" kink-free pipe. (c) Remove nut from bulkhead and place
bulkhead through the pre-drilled hole inside of the basin making sure
the rubber gasket is on the inside. (d) Thread nut onto bulkhead and
tighten using channel locks one to two turns past hand tight.
4. Begin building the base of the back wall.
a.
b.
c.
d.
6. (a) Thread 1 ¼" MPT x 1" slip fitting on outside of bulkhead fitting
using Teflon tape (not included). (b) Cut a small piece of 1" flex PVC
and glue flex PVC into fitting in back of basin and run through opening
in wall. (c) Glue 1" elbow onto end of pipe. (d) Glue remaining flex
PVC onto elbow.
☎
US 1-866-877-6637 |
I N S T R U C T I O N S
3. Place pump inside of basin and attach kink-free pipe to the
multi-hose adapter included with pump.
5. Center basin against back wall with bulkhead facing back. Leave an
opening in the back wall for plumbing and pump cord to pass through.
7. Build wall around front and sides of basin and continue building
back wall until desired height is reached. It is recommended to not
exceed more than a 16" overall waterfall height.
☎
CAN 1-866-766-3426 | www.aquascapeinc.com
