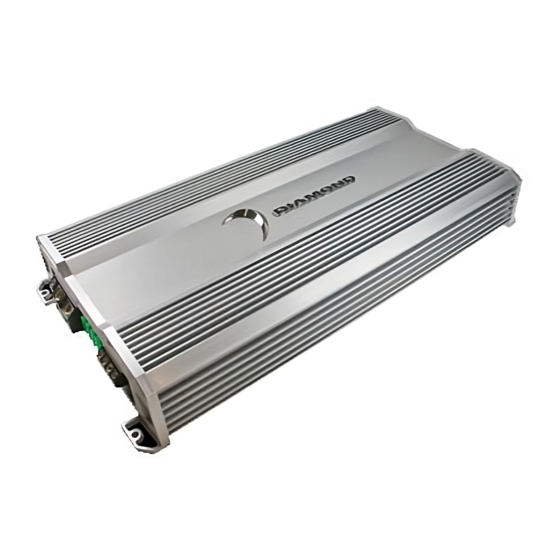
Diamond Audio Technology D6 1000.2 Manuel d'installation - Page 6
Parcourez en ligne ou téléchargez le pdf Manuel d'installation pour {nom_de_la_catégorie} Diamond Audio Technology D6 1000.2. Diamond Audio Technology D6 1000.2 12 pages. D6 series

Installation Guidelines
Tools and Supplies
Listed below are the tools and supplies needed to complete this installation:
•
Volt/Ohm Meter
•
Wire strippers and wire cutters
•
#2 Phillips screwdriver
•
Battery post wrench
•
Hand held drill w/assorted bits
•
High quality electrical tape or heatshrink tubing
•
Soldering iron and solder or assorted crimp connectors
•
Adequate Length— Power Wire (minimum 4 gauge recommended)
•
Adequate Length— Ground Wire (minimum 4 gauge recommended)
•
Adequate Length—Remote Turn-on Wire (minimum 22 gauge)
The Importance of Pre-Planning
This section focuses on some of the considerations for installing your new D6 amplifier. Pre-planning
your audio system layout and best wiring routes will save installation time. When deciding on the layout of
your new components, be sure that each component will be easily accessible for making adjustments.
CAUTION: lf you feel unsure about installing this system yourself, have it installed by a qualified technician.
CAUTION: Before installation, disconnect the negative (-) battery terminal to prevent damage to the
unit, fire and/or possible injury.
Before beginning any installation, follow these sensible guidelines:
1)
Be sure to carefully read and understand the instructions before attempting to install the amplifier.
The instructions can only help you make the installation successful.
2)
For safety, disconnect the negative lead from the battery prior to beginning the installation. It will
keep any unintended short circuits from damaging vehicle electronics during installation of the
amplifier.
3)
For easier assembly, run all wires prior to mounting your amplifier in place.
4)
Route all of the RCA cables close together and away from any high current wires or vehicle com-
puters. This will greatly minimize the chances of unwanted noise.
5)
Use high quality connectors for a reliable installation and to minimize signal or power loss.
6)
Think before you drill! Be careful not to cut or drill into gas tanks, fuel lines, brake or hydraulic
lines, vacuum lines, or electrical wiring when working on any vehicle.
7)
Never run wires underneath the vehicle. Running the wires inside the vehicle provides the best
protection.
8)
Avoid running wires over or through sharp edges. ALWAYS use rubber or plastic grommets to protect
any wires routed through metal, especially the firewall.
9)
ALWAYS protect the battery and electrical system from damage with proper fusing. Install the ap-
propriate fuse holder and fuse on the +12V power wire within 18 inches (45.7 mm) of the positive
battery terminal. This is for protection of the wire running through the vehicle.
10) When grounding to the chassis of the vehicle, scrape all paint from the metal to ensure a good,
clean ground connection. Grounding connections should be as short as possible, yet be adequately
connected to metal that is welded to the main body, or chassis of the vehicle. Do not use seat bolts,
trunk hinges, or poorly joined metal for grounding points.
6
