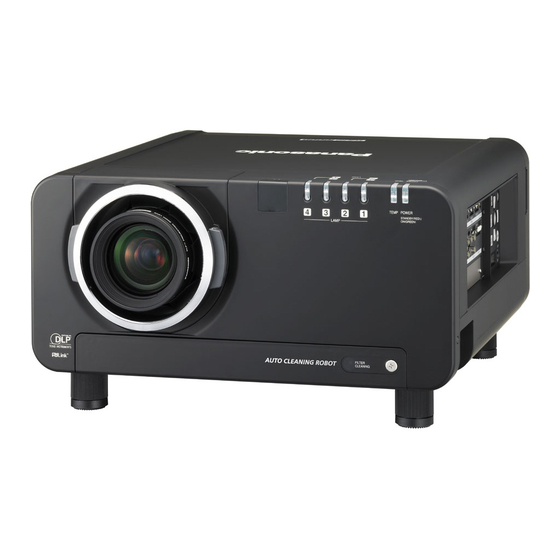
Photo 5
3) Considerations when mounting and adjusting with a hanging bracket
Problems such as shifting of edge blending after installation and adjustment, and going out
of adjustment less than a week after readjustment are often a result of problems in the
adjustment of the hanging bracket and temperature drift.
The points to keep in mind during adjustment are described below.
The adjustment of installation angle of a hanging bracket is described on the next page
using ET-PKD75S as an example.
When fastening bolts while adjusting each image contour, the following cautions should be
heeded to avoid metal distortion caused by fastening imbalance.
When the projected image is shifted to the left or right against the screen ? Fasten the
four hexagonal nuts on the hanging bolts on the topside of the attachment plate with
uniform torque.
When the projected image is shifted vertically from the screen ? Loosely fasten the two
hexagonal bolts for vertical angle adjustment at the left and right and adjust the projection
angle by moving the backside of the projector vertically. Then, fasten the left and right
hexagonal bolts alternately little by little to achieve uniform fastening torque.
When the projected image is tilted to the left or right, loosely fasten the hexagonal bolts
for left-right angle adjustment (3 places each on the front and back) and adjust the tilt of
the projector with these bolts, and then fasten the bolts at the front and back alternately in
a diagonal line little by little to finally achieve uniform torque at the end of adjustment.
After turning the lamp power on, the projector generates some temperature drift through
the operation of lens shift and focusing. Adjustment should be performed after stabilizing
the projector for at least 30 minutes after turning the lamp power on. Lens shift operation
should be performed by operating with the remote control in one direction and then
pressing the opposite direction button momentarily to release the force applied to the lens
shift gear. After all adjustments have been made, the projector should be lightly shaken to
make sure that the position does not shift.
Photo 5 shows an installation example using
specially made hanging pipes as low-ceiling
brackets.
Although wobble prevention is effected using
wires, a projected image may still sometimes
wobble due to building vibration. Periodic
maintenance is carried out to maintain edge
blending by adjusting lens shift etc.
- 8 -

