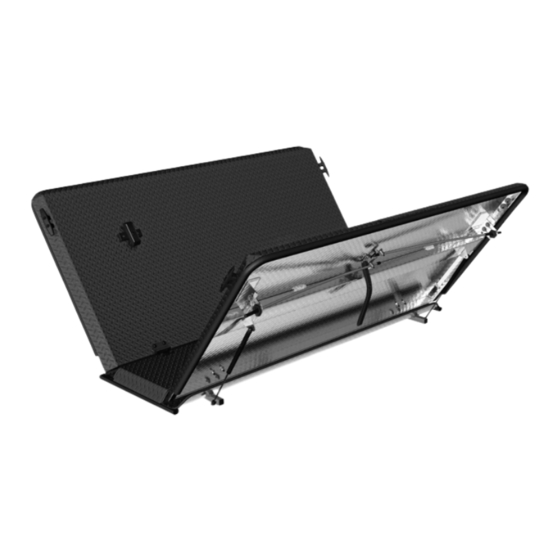
Diamondback SE Manuel d'installation
Parcourez en ligne ou téléchargez le pdf Manuel d'installation pour {nom_de_la_catégorie} Diamondback SE. Diamondback SE 2 pages. Hard tonneau cover for '15–up colorado & canyon with the 61.7" cargo box
Également pour Diamondback SE : Manuel d'installation (2 pages), Manuel d'installation (2 pages), Manuel d'installation (2 pages), Manuel d'installation (2 pages)

DiamondBackCovers.com / 800 935 4002
INSTALLATION GUIDE
45 minutes
Normal install time
PARTS INCLUDED:
Cab Panel
Center Panel
Tail Panel
PRE-INSTALLATION NOTES:
If you're installing a cab guard or headache
rack, mount it prior to mounting the cover.
Refer to its installation guide for details.
MOUNT THE PANELS
Place the center panel across the
1
center of the bed, cheated slightly
toward the tailgate.
Since the cover is
slightly tapered,
make sure the
arrow sticker on
the underside of
the center panel is
pointing toward
the tailgate.
Loosely a x the center panel to the truck by finger-tightening a cap
2
clamp at each of the four interior corners of the underside of the
center panel.
Attach the tail panel by angling it 90° from the bed rails, sliding its
3
driver-side, loop-shaped hinge knuckle fully onto the corresponding
center-panel hinge pin, then dropping its passenger-side, C-shaped
hinge knuckle fully onto its corresponding pin.
FIRST
Keep an eye out for these icons:
Bed-Rail
Edge Trim (4)
Cap Clamps (4)
If you have a '19–up Ford Ranger, a x the
included bulkhead weatherstrip first. Refer
to its separate installation guide for details.
90°
IMPORTANT!
Important installation information
1/8" Hex Key
Springs (4)
Lower the tail panel into the closed position.
4
To avoid hinge damage, make sure the drop-on hinge
is fully mated before beginning to close the panel.
Repeat steps 3–4 for the
5
cab panel, starting this
time with the loop-shaped
hinge knuckle on the
passenger side.
Position the cover front to back so that the
6
leading edge of the closed cab panel lines up with
the outside edge of the center of the bulkhead.
Center the cover side to side on
7
the truck.
SECOND
Tighten the cap clamps
8
with a 9/16" socket.
Road vibration can loosen your clamps. Retighten them after
100 miles. Check them every time you haul on top.
HD SE
TOOLS REQUIRED:
Ratchet Wrench
Gas
Utility Knife
If you have a Tundra, put the bed rail cap
shims on first. Refer to their separate
installation guide for details.
2
CVR-1
Helpful Hints
Tips to assist installation
9/16"
Socket
7/16"
Socket
FULLY MATED
1
CONTINUED ON REVERSE >
