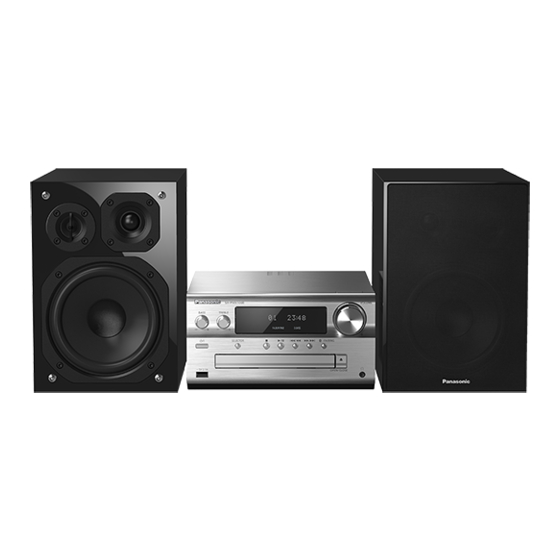
Panasonic CS-PMX100 Manuel d'utilisation - Page 5
Parcourez en ligne ou téléchargez le pdf Manuel d'utilisation pour {nom_de_la_catégorie} Panasonic CS-PMX100. Panasonic CS-PMX100 24 pages.

Overview of controls
1
2
3
EXT-IN
4
CD/USB
RADIO
5
6
7
DIMMER
8
Top view
17
BASS
TREBLE
6
SELECTOR
1
4
5V 2.1A
18
1 Standby/on switch [Í], [Í/I]
Press to switch the unit from on to standby mode or
vice versa. In standby mode, the unit is still
consuming a small amount of power.
9
2 Numeric buttons [1 to 9, 0, S10]
• To select a 2-digit number
10
Example: 16: [S10]
• To select a 3-digit number
Example: 124: [S10]
11
3 Delete a programmed track
4 Select audio source
12
On the remote control
[
]: "BLUETOOTH"
[CD/USB]: "CD"
[RADIO, EXT-IN]:
"DAB+" (
[PMX100B]
^---
"Network"
On the main unit
[SELECTOR]:
-.
"CD"
"BLUETOOTH"
^---
"Network"
13
5 Basic playback control
14
6 Select the sound effects
15
7 Set the play menu item
8 View content information
16
9 Clock and timer operation
10 Set the programme function
11 Adjust the volume of the system
19
12 Mute the sound of the system
Press the button again to cancel.
"MUTE" is also cancelled when you adjust the
volume or when you switch off the system.
VOLUME
13 Enter setup menu
11
14 Set the radio menu item
20
15 Select the option
PAIRING
5
16 Dim the display panel
21
Press the button again to cancel.
22
OPEN/CLOSE
23
24
>
>
[1]
[6]
>
>
>
>
[S10]
[1]
[2]
[4]
(.
"USB"*
1
--.
--.
)
"FM"
"AUX"
(---
(---b
"PC"
-.
-.
"DAB+" (
)
"FM"
[PMX100B]
(-
(
(
(-b
"PC"
"USB"*
"AUX"
1
17 Display panel
18 Port for iPhone/iPad/iPod and USB devices
19 NFC touch area (
11)
20 Bluetooth
-pairing button
®
• Press to select "BLUETOOTH" as the audio source.
• Press and hold to enter pairing mode (
disconnect a Bluetooth
device (
®
21 Open or close the disc tray
22 Headphones jack ( )
• Plug type: 3.5 mm stereo (not supplied)
• Avoid listening for prolonged periods of time to prevent
hearing damage.
• Excessive sound pressure from earphones and
headphones can cause hearing loss.
• Listening at full volume for long periods may damage
the user's ears.
23 Disc tray
24 Remote control sensor
*1: The display will automatically change to "iPod" when a
compatible iPhone/iPad/iPod is connected to the port for
iPhone/iPad/iPod.
Preparing the remote control
R6/LR6, AA
• Use alkaline or manganese battery.
• Install the battery so that the poles (+ and –) align with
those in the remote control.
• Point the remote control at the remote control sensor,
away from obstacles, at a maximum range of 7 m
directly in front of the main unit, within an angle of
approximately 30° to the left and right.
10) or
11).
5
