Biomorph Pro Plus Manuel - Page 15
Parcourez en ligne ou téléchargez le pdf Manuel pour {nom_de_la_catégorie} Biomorph Pro Plus. Biomorph Pro Plus 15 pages.

Troubleshooting Guide
For Biomorph Flexo, Level, and Plus Series Desks
Flexo Series
Level Series
1.
Check for obstructions above, below and around the
desk that may impede movement through the desk's full
adjustment range of 22" - 48.5" . If there is anything more
than 18" high under either surface then it will cause an
obstruction and error E29 when the surface is lowered to
the lowest position to reset the system, and cause the
system to freeze.
2.
Re-check the power outlet with another electrical
device to ensure that you have power to the desk.
Check power cord connection to controller box, and check
all other connections from the legs and switch(es) to the
controller box.
4.
Once the desk has lowered to its lowest point allow the
table to come to a complete stop and then take you finger
6.
the down button, then press the down button again for 5-10
sec-onds until the desk adjusts up the fraction of an inch
and shows the height. This may need to be attempted up to
three times in suc-cession before movement is seen
depending on the reason why the table needs to be reset.
The digital readout may cycle through several E codes - this
is normal.
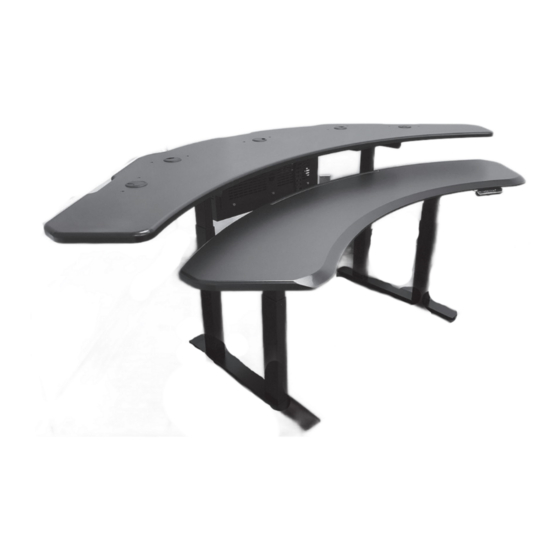
Plus Series
QUESTIONS? PLEASE CALL TECH SUPPORT
AT 917 328 8955 when you are in front of the
desk for real-time diagnosis.
3.
Hold the DOWN button to cycle the table to its lowest
position. If the table does not move at first take your finger
button, and then immediately press and hold the down
button until the desktop is at the lowest position, aprx. 22"
5.
With the desk lowered in the lowest position press and
hold the down button for 5-10 seconds. The table will adjust
up and down a fraction of an inch, and may show E codes if
the switch has a display, which is normal, then show the
height. This is the sign that the table has fully reset.
For dual surface Plus Series desks, you must reset both front
and rear surfaces, by starting with the front then using the
round toggle button to operate the rear surface and repeating
the procedure.
7.
If the above does not work initially then unplug all
electrical connections and re-plug all connections back in to
ensure good connections with all electrical parts, and repeat
the above process. At this point the table should adjust up
and down freely. If you have a dual surface desk then this
procedure must be done with both surfaces using the
toggle button.
If the surface(es) will not move at all after the above proce-
dure note the E Code (if any) and call us at 888 302 3375 for
fur-ther troubleshooting support.
