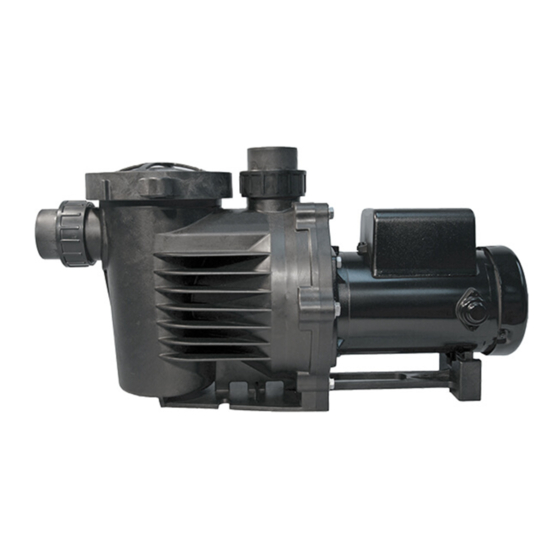
EasyPro EXP5500 Manuel d'installation et d'entretien - Page 3
Parcourez en ligne ou téléchargez le pdf Manuel d'installation et d'entretien pour {nom_de_la_catégorie} EasyPro EXP5500. EasyPro EXP5500 9 pages. Self-priming external pumps

We congratulate you on your choice of the EXP Self Priming Pump! It has been carefully designed using the advantages of today's
technology and carefully constructed to give you the dependability of yesterday. To insure proper performance, we urge you to
carefully follow the instructions in this manual. If you have any questions, call your nearest distributor or EasyPro for assistance.
1.
After thorough inspection, carefully remove the pump from the box.
2.
Secure the pump on a solid, flat foundation. A covered location is always best and care should be taken to ensure adequate ventilation.
NOTE: Make sure your installation location is no higher than 9 feet above the water surface level.
Scan the QR code at the bottom of the page or visit www.easypro.com/exp-series-pumps for more installation tips.
3.
Install a ball or swing-type check valve as needed to facilitate pump disconnection, flow control and servicing.
4.
Connect plumbing to the pump by dry fit testing first to ensure proper fit and proper pipe alignment. Be sure the union nut is on the union
tailpiece before gluing in place.
5.
Once proper fit and alignment is established, use proper pipe sealant designed for plastic pipes. Support plumbing as needed to prevent strain
and damage. DO NOT overtighten the nut included with the pump in the quick connect fittings. Hand tightening is sufficient.
NOTE: If changing motor voltage, it is recommended that wiring be performed by a licensed electrician. Wiring of this pump should be
in accordance with the wiring diagram located on the motor. Ensure the pump is wired for the correct supply voltage and is supplied by no
smaller than 16 gauge wire and should be based on horsepower. The circuit breaker should be 20 to 30 amps.
If your pump will be hardwired: Be sure to ground the motor correctly by connecting code compliant wiring to the green grounding
screw located under the wiring plate.
Scan the QR code at the bottom of the page or visit www.easypro.com/exp-series-pumps for electrical wiring instructions and tips.
6.
When wiring is complete, double check the intake and discharge fittings to ensure a snug fit.
7.
Open the volute (strainer pot) lid and fill with water, ensure the lid O-ring is clean of any debris and close the lid securely prior to starting.
8.
Once the priming pot is filled and supply valves (if present) are opened, your pump is now ready to prime. Turn the motor on by plugging the unit
in or switching on the power supply. Priming will vary in length. Water should continue to flow into the basket as the pump goes through the priming
process. The priming process should not take longer than 15 minutes. The pump should never run dry. If water stops flowing into the strainer pot, shut
the pump off immediately and review the troubleshooting tips on page 7.
NOTE: There may be installations in which plumbing allows for trapped air in the system. If this happens, priming will be difficult. In this case,
loosen the discharge fittings slightly to allow trapped air to bleed off. Once primed, tighten the discharge fitting.
Scan the QR code at the bottom of the page or visit www.easypro.com/exp-series-pumps for more information on understanding
priming and pump operation.
WARNING: Always shut off electrical power before installation
and/or servicing this pump! All electrical wiring should meet state
and local ordinances. Improper wiring may not only be a safety
hazard but may permanently damage the motor and/or pump.
SELF-PRIMING EXTERNAL PUMPS
INSTALLATION
The All-In-One Pump
SCAN
THE CODE
for more
installation tips and
pump information.
© 2023 EasyPro, Inc
Pg. 3
