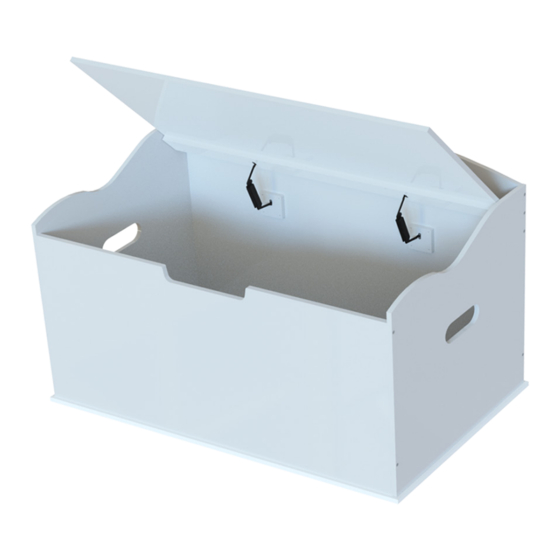
DIBSIES CREATIVE WONDERS TOY BOX Manuel d'assemblage - Page 7
Parcourez en ligne ou téléchargez le pdf Manuel d'assemblage pour {nom_de_la_catégorie} DIBSIES CREATIVE WONDERS TOY BOX. DIBSIES CREATIVE WONDERS TOY BOX 8 pages.

INSTRUCTIONS
Step 5 - Attach the Part K Lid Supports
1.
Lift the lid of the
assembly
Lift the lid and ensure it opens
without any issues.
4.
Secure Part K
Tighten all Part L screws using a
Phillips screwdriver. Take care not
to overtighten.
6
2.
Locate and align one
Part K lid support
Locate one Part K lid support and
align it with the assembly by
ensuring the holes match with Part E
and Part H as shown.
5.
Repeat these steps for the
remaining Part K Hinge
Repeat steps 2, 3, and 4 to secure
the other Part K lid support.
3.
Locate and insert
Part L Screws
Locate and insert four Part L
screws as shown.
6.
Ensure the lid opens and
closes properly.
Before using the toy box, open
and close the lid to ensure it works
properly.
Customer Support
For Customer Service Issues
please contact us at:
www.dibsies.com
7014 Fairfield Business Center Dr.
Cincinnati, OH 45014
© Dibsies 2020, All Rights Reserved
