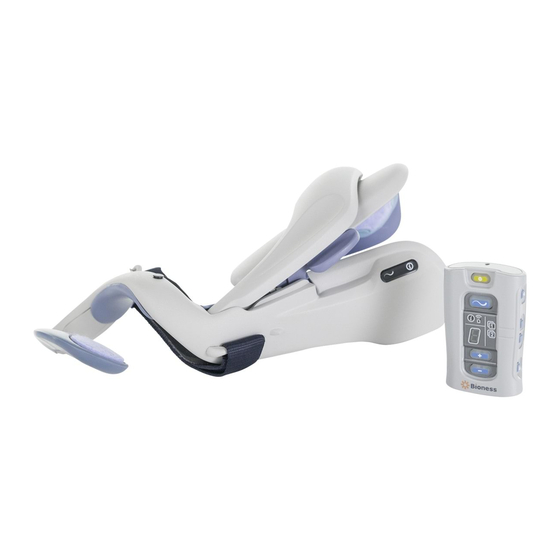
Bioness Ness H200 Carte de référence du clinicien
Parcourez en ligne ou téléchargez le pdf Carte de référence du clinicien pour {nom_de_la_catégorie} Bioness Ness H200. Bioness Ness H200 2 pages.
Également pour Bioness Ness H200 : Manuel de référence de l'utilisateur (2 pages)

Clinician's Reference Card
Fitting the H200 Wireless Orthosis
Select the appropriate Orthosis size and then attach the appropriate Thenar.
1
Attach the appropriate Wrist Insert.
2
Don the Orthosis and check between the FPL #5 electrode and the wrist. If there is a gap,
3
attach and tighten the Orthosis Wrist Strap.
If there is still a gap, doff the Orthosis and attach the FPL Panel.
4
Select and attach an Extensor Fitting Panel that will elicit the desired hand/finger movement.
5
Start with fitting panel A.
Select and attach a Flexor Fitting Panel that will elicit the desired hand/finger movement.
6
Start with fitting panel A.
Wet all of the cloth electrodes.
7
Attach the cloth electrodes to the electrode bases.
8
Don the Orthosis.
9
Adjust stimulation parameters.
10
Thenar
1
Flexor Fitting
Panel
6
Adjusting Stimulation Parameters
Log into the H200 Wireless Software. Select a patient record and press Open, or press New
1
to create a patient record.
From the Programs Menu, press Stim. Parameters.
2
Adjust stimulation parameters for the extensors and flexors. Press Start to turn on
3
stimulation. Press Stop to stop stimulation. Deactivate the trigger button on the Orthosis, if
appropriate. Press Done to return to the Programs menu.
1
For a complete list of all contraindications, warnings, adverse reactions, precautions, and care instructions please review the
Clinician's Guide found at www.bioness.com.
612-00373-001 Rev. D
11/2015
Wrist Strap
Wrist Insert
2
3
7
8
2
FPL Panel
4
9
3
See
Clinician's
Guide
Extensor Fitting Panel
5
10
Deactivate Remote
Trigger
Rx Only
(US Only)
