Dickinson 180 Manuel d'utilisation et d'installation - Page 7
Parcourez en ligne ou téléchargez le pdf Manuel d'utilisation et d'installation pour {nom_de_la_catégorie} Dickinson 180. Dickinson 180 16 pages. Spitfire marine grill propane barbecue
Également pour Dickinson 180 : Manuel de l'opérateur (9 pages)

7
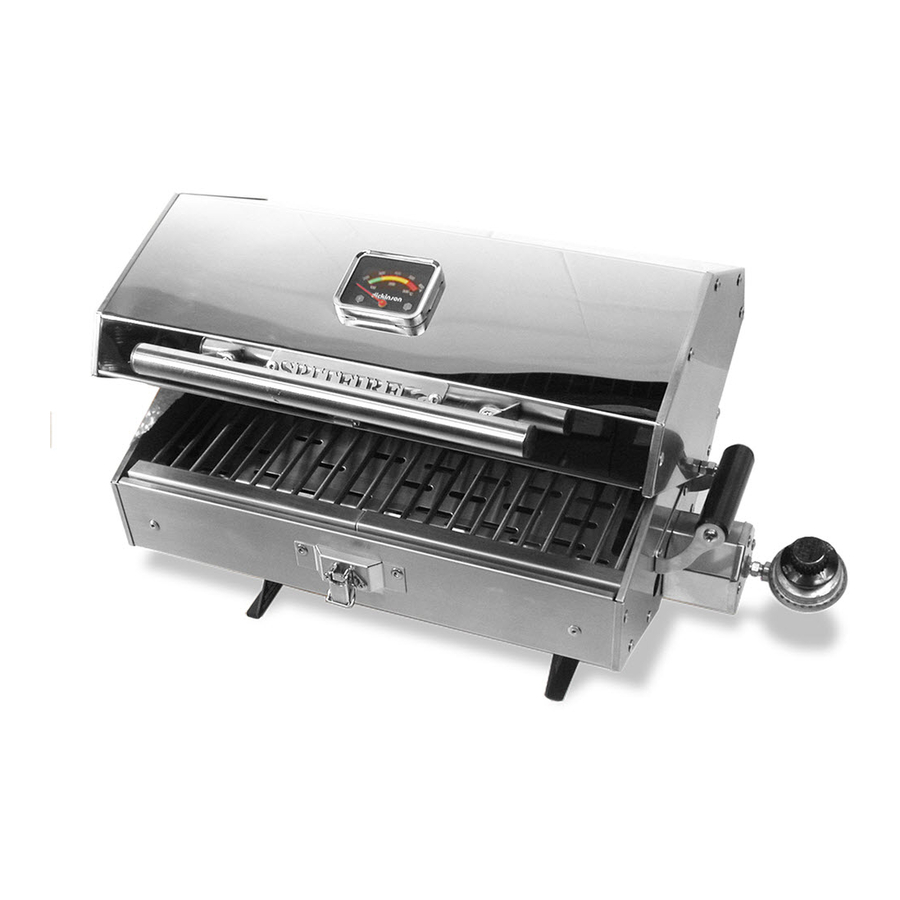
Getting to Know your Spitfire
Thermometer:
The Spitfire 180 is fitted with a thermometer.
If you remove the
thermometer for cleaning or replacement, see below for re-assembly
diagram. Inspect the thermometer to ensure no small white bits of plastic are
around the edge, left over from the protective plastic used in the
manufacturing process. Be aware that bending or damaging the thermometer
probe or dropping the Spitfire, may cause the thermometer to stop working.
(use #6 x ¼ screws)
Spark Igniter:
The igniter probe should be as close to the holes in the burner as possible.
See diagram below.
For a perfect fit, adjust the probe so that it is
3/16ths"(4.75mm) away from the holes. Igniters seldom fail but if yours
stops working try cleaning the probe. Built up grease may have coated the
probe, preventing the spark. Remove the igniter, clean the bracket and
around the base, the copper line on the side of the igniter and the screws.
Built up grease may have interrupted the ground. (use #8 x 3/8 screws & #8
nuts)
Orifice Assembly:
The orifice assembly is the series of brass fittings that attach to the gas
regulator control and go inside the end of the burner. The orifice has a tiny
hole that controls the maximum amount of fuel allowed to enter the burner.
From time to time salt or other debri may plug the hole changing the flame.
The Spitfire will not get hot, and a blocked orifice may be the reason.
Remove and clean with a very small wire (twist tie). Do not expand the hole
or the Spitfire will burn too hot.
www.dickinsonmarine.com
~
Form#7.2-257 Issue#2
