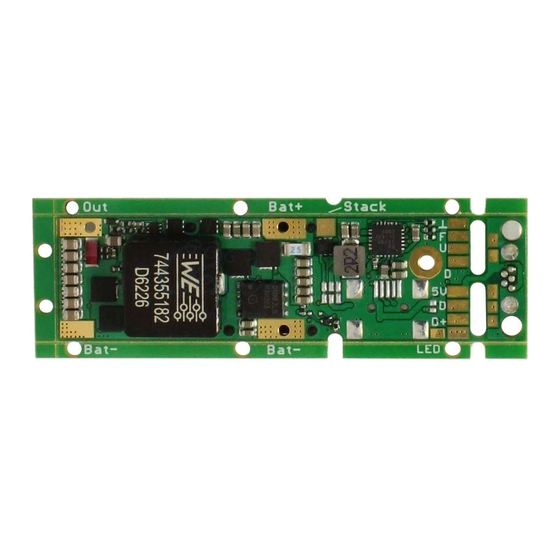
dicodes FL80 Manuel - Page 2
Parcourez en ligne ou téléchargez le pdf Manuel pour {nom_de_la_catégorie} dicodes FL80. dicodes FL80 11 pages. Electronic circuit board

On the FL80_V2 the Up-Button can have two different positions. One is the same as on the
FL80_V1 (beta), option A, 3mm distance from the display frame. The second position is 2.5mm
further away from the display frame, option B (total 5.5mm). This gives the option to use a
rocker-button or larger up/down buttons.
Note that the different assembly options, i.e. whether the Mini-USB is needed and the up
button position A or B, must be defined before any series orders. The standard assembly for
single PCB orders will be Mini-USB NOT mounted and up-button in the original position (A).
Bottom View on Solder-Fields
2. Battery and Charging
2.1. General Options
2.1.1. One Battery
The board can be run from a single Li-Ion battery, with the option to use the
onboard active switch mode charging circuit, either supplied through the onboard
Mini-USB plug or by the on-board vertical micro-USB, which can be separated (cut)
from the main-board. If neither mini-USB nor vertical micro-USB is to be used, any
separate USB-Plug carrier board can be connected through wiring cabling. Also,
the USB-plug-board can be connected through a 6-pin 0.5mm pitch standard FPC
cable connection, suppliers of which can be found at the end of this text (see
ordering in formation).
2.1.2. Two (or more) Batteries in Parallel
With paralleled batteries it is also possible to use the onboard charger. The
problem with paralleled batteries is the moment when they are paralleled: If the
Drawing 2
