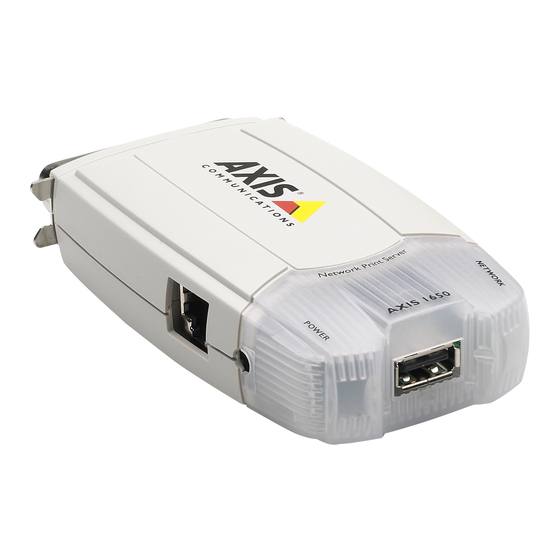
Axis 1650 Instructions d'installation - Page 7
Parcourez en ligne ou téléchargez le pdf Instructions d'installation pour {nom_de_la_catégorie} Axis 1650. Axis 1650 16 pages. Axis 1650 print server: installation guide
Également pour Axis 1650 : Instructions d'installation (14 pages)

5
Assign IP Address
6. IP JumpStarter Setup will appear, click
[Next].
7. To install in the default destination
folder, click [Next], otherwise select
another destination folder and continue.
8. A system requirement diagnostic will run
to ensure needs are sufficient, click
[Next].
9. IP JumpStarter will install, once com-
pleted be sure to check the action
a shortcut to AXIS IP JumpStarter on
your
desktop. Click [Next], then [Finish].
(contd.)
10. Open IP JumpStarter. Select the AXIS
1650 from the serial number list. All
AXIS1650 appear with the default IP
address 192.168.0.90. If you are install-
ing several AXIS 1650, check the serial
number to locate a specific AXIS 1650.
11. Select
Set IP Address window appears.
12. Click the radio button that corresponds
to your choice of IP setting method
(static or dynamic using DHCP). When
assigning a static IP address you also
have to define the Subnet Mask and
Default Gateway.
Create
13. Click [OK] to save your settings.
14. You may be prompted to enter the server
root password (by default set to
<blank>), click [OK] and the AXIS 1650
will appear in the list with the assigned
IP address.
15. To verify that you have access to the
AXIS 1650's Web pages, highlight the
AXIS 1650 in the list and select
Server Home
Server | Set IP Address
Page.
and the
Server |
