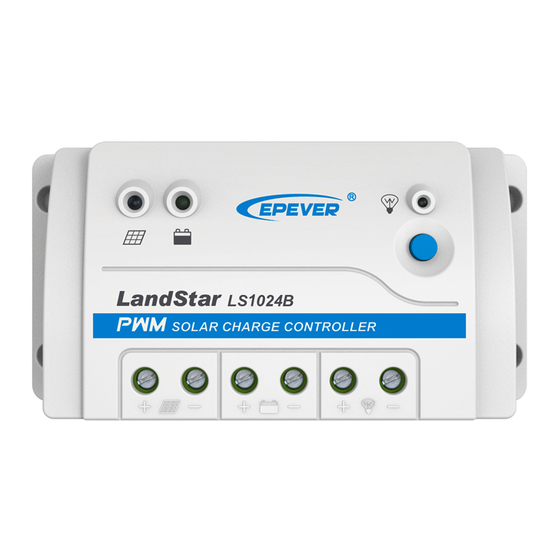
Epever LS1024B Manuel
Parcourez en ligne ou téléchargez le pdf Manuel pour {nom_de_la_catégorie} Epever LS1024B. Epever LS1024B 2 pages. Solar charge controller

HUIZHOU EPEVER TECHNOLOGY CO., LTD.
※ Thank you for selecting the LS-B series solar charge controller.
Please read this manual carefully before using the product.
※ Do not install this product in humid, salt spray, corrosion,
greasy, flammable, explosive, dust accumulative, or other
severe environments.
Solar Charge Controller
1 Overview
LS-B series is a PWM common positive solar charge controller that adopts the advanced
digital technique. The multiple load control modes make it suitable for a solar home
system, traffic signal, solar street light, solar garden lamp, etc.
Features:
Adopt high-quality components of ST, and IR, ensure product lifespan
UL and VDE certification, making the product safer and more reliable
Full load running in the environment temperature range
3-stage intelligent PWM charging: Bulk, Boost/Equalize, Float
Optional four battery types: Sealed, Gel, Flooded, and User
Battery temperature compensation function
Real-energy statistics function
Standard Modbus protocol based on RS485 bus, longer communication distance
Multiple load control modes
Extensive electronic protection
2 Identification of parts
❶
❷
Remote temperature(RTS)port
❸
PV terminals
❹
Battery terminals
❺
Load terminals
RS485 communication port
★ If the temperature sensor is short-circuited or damaged, the controller will charge
or discharge at the default temperature setting of 25 ºC (no temperature
compensation).
3 Wiring
Connect the system in the order of ❶battery
Installation Procedure:
disconnect the system in reverse order❸❷❶.
NOTE: While wiring the controller, disconnect the circuit breaker or fast-
acting fuse. Ensure that the polarity of the electrode is connected correctly.
NOTE: A fast-acting fuse whose current is 1.25 to 2 times the rated current
must be installed on the battery side with a distance from the battery not
longer than 150 mm.
❻
❼
★
Mounting hole
❽
Load ON/OFF button
❾
Load status indicator
Battery status indicator
❿
Charge status indicator
❸PV array
❷ load
1
Tel: +86-752-3889706
NOTE: The LS-B series is a positive ground controller. Any positive solar,
load, or battery connection shall be earth grounded as required.
NOTE: If an inverter is to be connected to the system, connect the inverter
directly to the battery, not to the load side of the controller.
4 Indicator and button
(1) Indicator
Indicator
Color
Green
Green
Green
Green
Green
Green
Green
Orange
Red
Red
Red
Red
Red
Red
Charge, Load, and Battery(orange)indicator flashing
Charge, Load, and Battery(red)indicator flashing
(2) Button
① The load is turned ON/OFF via the button when the operating mode is Manual Control.
② Clear the faults for the overload and load short circuit.
5 Setting
❶ USB to RS485 converter cable: CC-USB-RS485-150U
❷ USB to RS485 converter cable: CC-USB-RS485-150U
Download PC software: www.epever.com(PC Software for the Solar Charge Controller)
OTG cable: OTG-12CM
Download the phone APP (support Andriod system only)
❸ RS485 to RS485 converter cable: CC-RS485-RS485-200U-MT
www.epever.com(Andriod APP for the Solar Charge Controller)
(1) Battery voltage control parameters
(Below values are measured in the 12V/25 ºC system; please double the values in the 24V
system.)
Battery type
Over Voltage Disconnect Voltage
Charging Limit Voltage
Over Voltage Reconnect Voltage
Equalize Charging Voltage
Boost Charging Voltage
Float Charging Voltage
Boost Reconnect Charging Voltage
Low Voltage Reconnect Voltage
Under Voltage Warning Reconnect
Voltage
Under Voltage Warning Voltage
Low Voltage Disconnect Voltage
Discharging Limit Voltage
Equalize Duration
Boost Duration
, and
NOTE:
1) When the battery type is sealed, gel, or flooded, the adjusting range of equalizing
duration is 0 to180 minutes, and boost duration is 10 to180 minutes.
2) The following rules must be observed when modifying the value of the parameter in the
user battery type (factory default value is the same as the sealed type):
A. Over Voltage Disconnect Voltage > Charging Limit Voltage ≥ Equalize Charging
Voltage ≥ Boost Charging Voltage ≥ Float Charging Voltage > Boost Reconnect
Charging Voltage.
B. Over Voltage Disconnect Voltage > Over Voltage Reconnect Voltage.
Website: www.epever.com
Status
Information
PV connection normal ,but
On solid
low voltage(low irradiance)
from PV, no charging
No PV voltage(night time) or
OFF
PV connection problem
Slowly flashing(1Hz)
In charging
Fast flashing(4Hz)
PV over voltage
On solid
Battery normal
Slowly flashing(1Hz)
Battery full
Fast flashing(4Hz)
Battery over voltage
On solid
Battery under voltage
On solid
Battery over-discharged
Slowly flashing(1Hz)
Battery over temperature
On solid
Load ON
OFF
Load OFF
Slowly flashing(1Hz)
Overload
Fast flashing(4Hz)
Load short circuit
Controller over temperature
System voltage error
Sealed
Gel
Flooded
16.0V
16.0V
16.0V
15.0V
15.0V
15.0V
15.0V
15.0V
15.0V
——
14.6V
14.8V
14.4V
14.2V
14.6V
13.8V
13.8V
13.8V
13.2V
13.2V
13.2V
12.6V
12.6V
12.6V
12.2V
12.2V
12.2V
12.0V
12.0V
12.0V
11.1V
11.1V
11.1V
10.6V
10.6V
10.6V
——
120 min
120 min
120 min 120 min
120 min
2
User
9~17V
9~17V
9~17V
9~17V
9~17V
9~17V
9~17V
9~17V
9~17V
9~17V
9~17V
9~17V
0~180 min
10~180
min
