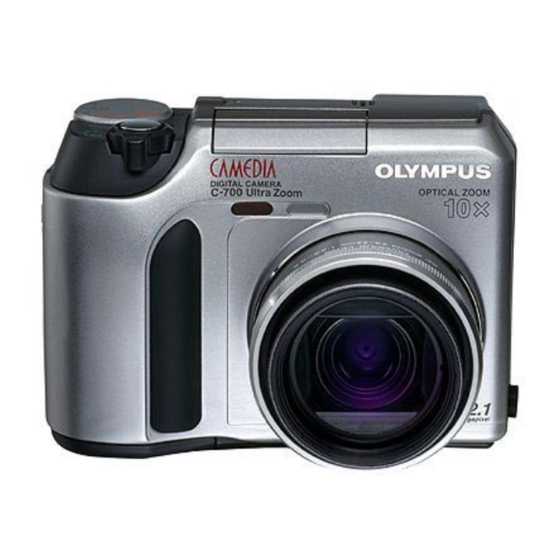
Olympus C-700 - CAMEDIA Ultra Zoom Manuel de poche - Page 13
Parcourez en ligne ou téléchargez le pdf Manuel de poche pour {nom_de_la_catégorie} Olympus C-700 - CAMEDIA Ultra Zoom. Olympus C-700 - CAMEDIA Ultra Zoom 17 pages. Olympus camedia c-700 ultra zoom: quick start
Également pour Olympus C-700 - CAMEDIA Ultra Zoom : Manuel de poche (2 pages)

S
T
CROLLING
HROUGH
To scroll a frame at a time, press the left or right arrows on the
arrow pad.
To display the first or last frame, press the up or down arrow
on the arrow pad.
C
I
REATING AN
NDEX OF
1. With the Mode Dial set to playback mode (the green
arrowhead in a box) and a movie displayed, press OK/
Menu to display the top menu, then press the up arrow to
select MOVIE PLAY.
2. Press the up or down arrow on the arrow pad to highlight
INDEX and press OK/Menu to display an index of movie
frames and the first frame is highlighted.
3. To select the first frame for the index, scroll through the
movie and press OK/Menu when the desired frame is
highlighted. The highlight jumps automatically to the last
frame in the movie.
4. To select the last frame for the index, scroll through the
movie and press OK/Menu when the desired frame is
highlighted
5. With OK highlighted, press OK/Menu to save the index to
the SmartMedia card as an image file. (Select RESET to start
over at Step 3 or CANCEL to quit.)
E
DITING A
1. With the Mode Dial set to playback mode (the green
arrowhead in a box) and a movie displayed, press OK/
Menu to display the top menu, then press the up arrow to
select MOVIE PLAY.
2. Press the up or down arrow on the arrow pad to highlight
EDIT and press OK/Menu to display the first frame in the
movie.
3. To select the first frame of the sequence to be copied, scroll
forward through the movie and press OK/Menu when the
desired frame is highlighted. The highlight jumps then to
the last frame in the movie
4. To select the last frame of the sequence, scroll backward
through the movie and press OK/Menu when the desired
S
C
://
HORT
OURSES HTTP
25
M
F
OVIE
RAMES
M
F
OVIE
RAMES
M
OVIE
.
.
WWW
SHORTCOURSES
COM
26
frame is highlighted.
5. From the menu that appears:
Select OK, then select NEW FILE to save the selected
sequence as a new movie with a new name, or select
OVERWRITE to save it in place of the original movie under
its original name, then press OK/Menu.
Select RESET to return you to the previous screen and
repeat Steps 3–4.
Select CANCEL to return to the MOVIE PLAY menu, then
press the left arrow on the arrow pad to exit.
R
ECORDING
1. With the Mode Dial set to any shooting mode except Auto,
press Menu/OK to display the top menu, then press the
right arrow on the arrow pad to display the Mode menu.
With the CAMERA tab highlighted, press the right arrow to
activate the menu.
2. Press the up or down arrow on the arrow pad to highlight
the sound record icon (a microphone) and press the right
arrow to display choices.
3. Press the up or down arrow on the arrow pad to highlight
ON and press OK/Menu once to confirm the setting and
again to hide the menu.
4. Take the picture and as you record in still image mode a
progress bar counts down the remaining recording time. In
movie mode, a countdown timer is displayed for the movie
and sound.
5. When finished, repeat Steps 1–3 but select OFF.
A
S
DDING
OUND TO
1. With the Mode Dial set to playback mode (the green
arrowhead in a box icon), scroll to an image you want to
add sound to, then press OK/Menu to display the Mode
menu. With the PLAY tab highlighted, press the right arrow
to activate the menu.
2. With the record icon highlighted, press the right arrow to
display START and then press OK/Menu to select it and
begin recording as a progress bar indicates how much
recording time remains.
© C
2001
OPYRIGHT
BY
S
OUNDS
S
P
TILL
ICTURES
D
P. C
ENNIS
URTIN
