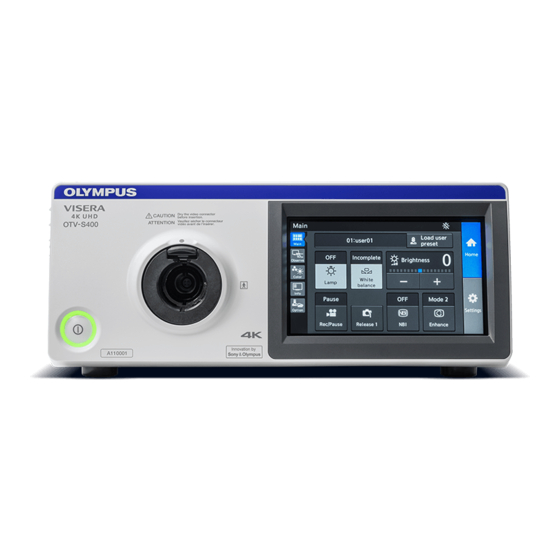
Olympus VISERA Manuel de référence rapide - Page 3
Parcourez en ligne ou téléchargez le pdf Manuel de référence rapide pour {nom_de_la_catégorie} Olympus VISERA. Olympus VISERA 4 pages. Uhd 4k camera system

VISERA UHD 4K Camera System Quick Reference Guide
VISERA UHD 4K Camera System Quick Reference Guide
Disclaimer: Information provided in this guide is not exhaustive. Please refer to the complete Instructions For Use for each
Disclaimer: Information provided in this guide is not exhaustive. Please refer to the complete Instructions For Use for each
item of equipment which should be thoroughly read and understood prior to handling, use and storage of the equipment.
item of equipment which should be thoroughly read and understood prior to handling, use and storage of the equipment.
Camera Head
Title 1
Adjust the image focus using the one touch auto focus
switch on the camera head. For an optimal auto focus:
Ensure telescope lens is clean from debris or liquid.
Hold the telescope stationary for three seconds after
pressing the one touch auto focus switch.
The image will focus on objects in the central 5% area of
the monitor.
One touch auto
focus switch
For telescopes of diameter 2.7 mm the auto focus may
not work. In this instance use the manual focus ring.
Focus ring
Issue 1
05/02/2021
Camera Head
Title 2
The three programmable buttons are assigned as follows:
1.
Insert action 1
2.
Insert action 2
3.
Insert action 3
1
3
2
Press info and then scope information
Info
Scope information
1
2
3
4
5
6
No.
Nomenclature
Description
1
User preset name
Displays the user preset name
2
Scope model
Displays the model name of the camera head
3
Serial number
Displays the serial number of the camera head
4
Remote switch 1
Displays the function assigned to the remote switch 1
5
Remote switch 2
Displays the function assigned to the remote switch 2
6
Remote switch 3
Displays the function assigned to the remote switch 3
Troubleshooting
No power
•
Ensure everything is powered on.
•
Check the isolation switch on the transformer is
turned on.
No image
•
Ensure everything is switched on including the
monitor which can be switched off by accident.
•
Ensure monitor input is set to (SDI 1) by using the
monitor input buttons.
•
Unplug camera head, colour bars should appear. If no
colours appear, contact Olympus Service Helpdesk.
Dialog
Dark image
•
Check condition of telescope.
•
Check condition of light lead.
High Intensity Mode Doesn't light up
•
Check a compatible Olympus light lead is being used.
Main examination lamp doesn't come on
•
Check the lamp meter on the light source has
not exceeded 500 hours and seek replacement
if necessary.
Title 3
KMF-08930
NCDR 02868
