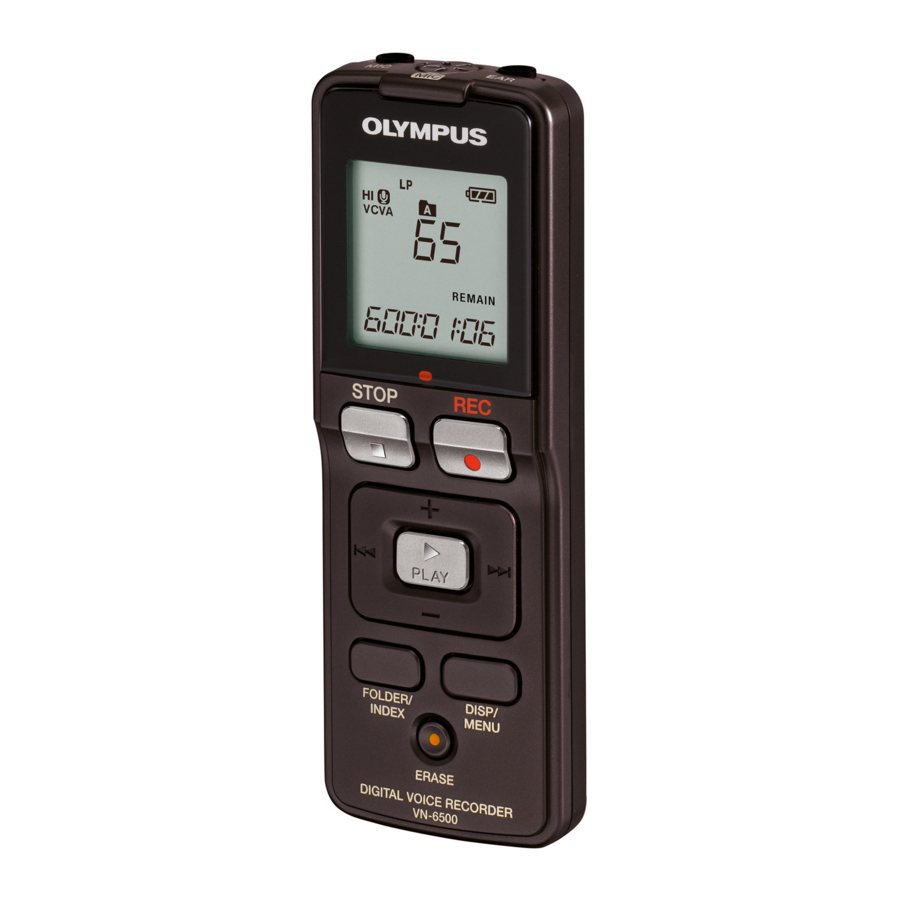
Olympus VN-6500PC Manuel d'instructions - Page 2
Parcourez en ligne ou téléchargez le pdf Manuel d'instructions pour {nom_de_la_catégorie} Olympus VN-6500PC. Olympus VN-6500PC 9 pages. Digital voice recorder
Également pour Olympus VN-6500PC : Manuel d'instructions (13 pages)

3
1
15m15s
15m15s
Time & Date
2
Remain 22h52m46s
1. 1'08 12:00 AM
1. 1'08 12:00 AM
7.25'08 3:00 PM
15m15s
4
1
15m15s
14m15s
5
14m15s
1
14m15s
3 4
5
Erase:
Start
6
File Erase!
6
14m25s
1 2
7
8
9
1
Erase:
Cancel
All Erase!
Erase Done
p
Remote
1
PC
2
3
PC
Introduction
Getting Started
EN
• This manual is a basic version. Please
Identification of Parts
refer to the complete advanced
manual either from the stored data
1 Built-in Microphone
in the [OL_MANUAL] folder of the
2 MIC (Microphone) jack
recorder or download the data from
3 HOLD switch
the OLYMPUS website.
• The contents of this document
4 USB terminal
may be changed in the future
5 STOP (4) button
without advanced notice. Contact
6 PLAY/OK (`) button
our Customer Support Center for
7 0 (Rewind) button
the latest information relating
to p ro du c t nam es an d m o d e l
8 Battery cover
numbers.
9 FOLDER/INDEX button
• The utmost care has been taken to
0 EAR (Earphone) jack
ensure the integrity of the contents
of this document. In the unlikely
! Display (LCD panel)
event that a questionable item,
@ Record/play indicator light
error, or omission is found, please
# REC (s ) button
contac t our Customer Suppor t
Center.
$ + button
• Any liability for passive damages or
% 9 (Fast Forward) button
damage of any kind occurred due to
^ – button
data loss incurred by a defect of the
& DISP/MENU button
product, repair performed by the
third party other than Olympus or an
* ERASE
(s
) button
Olympus authorized service station,
( Strap hole
or any other reason is excluded.
• Strap is not supplied. Use the
optional accessory.
Trademarks and registered trademarks:
• Microsoft, Windows
Display (LCD panel):
and Windows Media
1 Folder indicator
are registered
2 [
] Microphone sensitivity
trademarks of
Microsoft Corporation.
indicator
• Macintosh is the trademark of Apple
[ ] LowCut filter indicator *
Inc.
[
] Variable Control Voice
Actuator indicator
Safe and Proper Usage
[
] Record mode indicator
Before using your new recorder,
[K] Fast playback indicator
read this manual carefully to ensure
[J] Slow playback indicator
that you know how to operate it
safely and correctly. Keep this
[ ] Segment repeat playback
manual in an easily accessible
indicator*
location for future reference.
3 Guide indicator
• The warning symbols indicate
4 Character information display
i m p o r t a n t s a f e t y r e l a t e d
information. To protect yourself
Recording level meter
and others from personal injury or
5 Battery indicator
damage to property, it is essential
6 Erase lock indicator
that you always read the warnings
7 Current file number
and information provided.
*
For VN-6500PC only.
6
EN
Inserting Batteries (Fig. 1)
1 Lightly press down on the arrow and
slide the battery cover open.
2 Insert two size-AAA alkaline batter-
ies, observing the correct polarity.
3 Close the battery cover completely.
• When the HOLD switch is set to
the direction of the arrow, the
display is turned off after [HOLD]
is displayed. Follow the next step
without regard to it.
An optional Ni-MH Rechargeable
Battery (BR401) from Olympus can
be used for the recorder.
Replacing Batteries:
When [N] appears on the display,
replace the bat teries as soon as
possible. Size-AAA alkaline batteries
are recommended. When the batteries
are depleted, [O] appears on the
display, and the recorder shuts off.
• To replace the battery, make sure
that you set the HOLD switch to
the opposite direction of the arrow
before replacing.
Power Supply (Fig. 2)
Power on:
Slide the HOLD switch in the direction op-
posite that indicated by the arrow.
Power off:
Slide the HOLD switch in the direction
indicated by the arrow while the recorder is
not in operation.
Standby Mode and Display Shut Off:
If the recorder is stopped for 5 minutes
or longer during recording or playing,
it goes into Standby (power-save)
mode, and the display shuts off. To exit
Standby mode and turn on the display,
press any button.
Setting Time and Date [TIME] (Fig. 3)
When you install bat teries for
the first time or each time you
replace the batteries, the "Month"
indication will flash. In such a case,
be sure to set the time and date
by following steps 4 through 6
described below.
1 Press and hold the DISP/MENU
button for 1 second or longer to the
main menu.
2 Press the 9 or 0 button to
select [Sub Menu].
