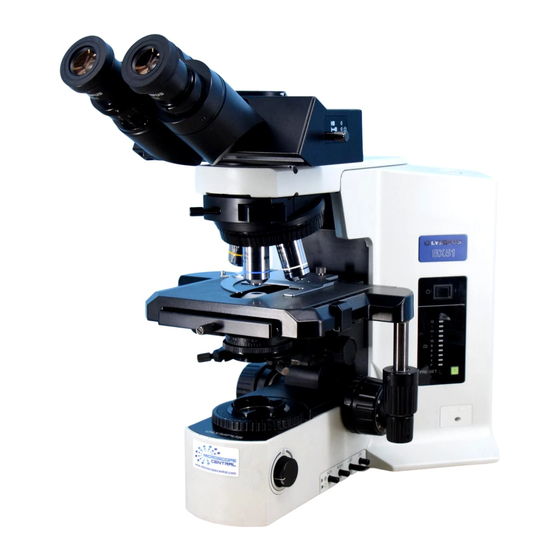
Olympus BX51 Manuel d'instructions - Page 11
Parcourez en ligne ou téléchargez le pdf Manuel d'instructions pour {nom_de_la_catégorie} Olympus BX51. Olympus BX51 37 pages. System
Également pour Olympus BX51 : Manuel d'utilisation (17 pages), Manuel d'instructions (40 pages), Manuel d'instructions (34 pages), Manuel d'utilisation (11 pages)

@ ² ³ |
Fig. 5
ƒ
Fig. 6
...
Fig. 7
Using Built-In Filters (Fig. 5)
Each of filter knobs @ to | can be engaged into the light path by press-
ing the knob in. Pressing the button again disengages the filter from the
light path.
@
ND6 (Neutral Density filter for light adjustment, transmittance 6%)
²
ND25 (Neutral Density filter for light adjustment, transmittance 25%)
³
LBD (for color balancing, daylight filter)
|
OP (optional) filter set*
* The set can be ordered at your local Olympus representative.
Mounting a Single Filter
A filter with a diameter of 45 mm ƒ can be placed on the filter mount on
the base. If you need to place multiple filters, please purchase the U-FC
filter cassette.
# Even when a filter cassette is used, a filter with thickness of no more
than 3 mm can still be placed on the filter mount.
Using the Filter Cassette (Figs. 7 - 10)
Loading Filters into Filter Cassette
}The filter cassette accommodates filters with a diameter of 45 mm and
thickness of 2.7 mm or less.
}The filter cassette has two filter levels on the right side and one on the left
side.
1. Move all filter levers to the OUT position except for the one belonging to
the slot into which the filter is to be inserted.
2. Slide the lever ... to the IN position. Make sure that it clicks securely into
place. (Fig. 7)
3. Holding the lever in the position shown in Fig. 7, put the filter into the
cassette by inserting it in the direction indicated by the arrow.
4. Insert the other two filters in the same manner.
BX51/BX52
Filter Type/Purpose
(Fig. 6)
9
