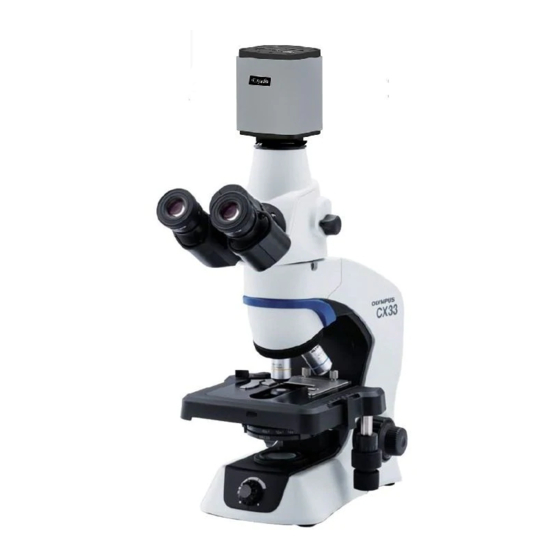
Olympus CX33 Manuel d'instructions - Page 6
Parcourez en ligne ou téléchargez le pdf Manuel d'instructions pour {nom_de_la_catégorie} Olympus CX33. Olympus CX33 40 pages. Biological microscope

CAUTION - LED (light emitting diode) -
Do not look directly at the light from LED for a long time.
If you feel that the light from LED is too bright during observation, adjust the light intensity using the brightness
adjustment knob before continuing the observation. The LED built in this product is basically eye-safe. However, do not
look directly at the light from LED for a long time while feeling too bright, since it may cause damage to your eyes.
CAUTION - Electric safety -
Always use the AC adapter and power cord provided by Olympus.
If the proper AC adapter and the power cord are not used, the electric safety and the EMC (Electro-Magnetic
Compatibility) performance of the product cannot be assured. If no power cord is provided, please select the proper
power cord by referring to the section "Proper selection of the power cord" at the end of this instruction manual.
Always connect the ground terminal.
Connect the ground terminal of the power cord and that of the power outlet. If the product is not grounded, our
intended electric safety and EMC performance of the product cannot be assured.
Do not use this product near the sources of strong electromagnetic radiation.
Proper operation may be interfered. Be sure to evaluate the electromagnetic environment before operating the product.
Disconnect the power cord in case of emergency.
In case of emergency, disconnect the power cord from the power cord connector of the product or from the power
outlet.
Install the product at the location where you can reach the power cord connector or the power outlet with your hand to
disconnect the power cord immediately.
This product complies with the emission and immunity requirements described in IEC61326 series.
CAUTION - Safety symbols -
The following symbols are attached to the product.
Study the meaning of the symbols and always use the product in the safest possible manner.
Symbol
2
Indicates a non-specific general hazard. Follow the description given after this symbol
or in the instruction manual.
Indicates that the main switch is ON.
Indicates that the main switch is OFF.
Meaning
