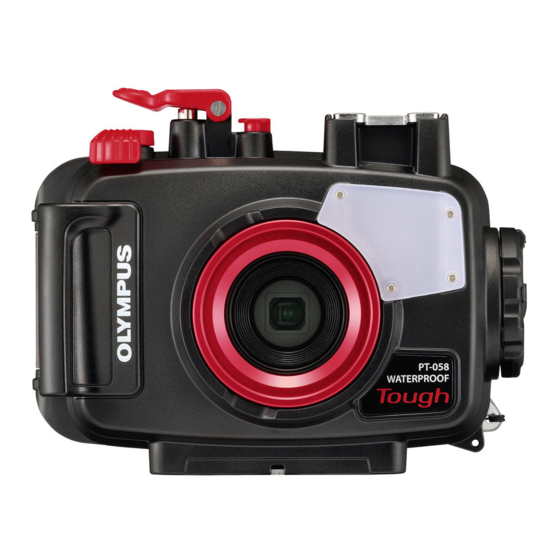
Olympus PT-058 Manuel d'instruction - Page 15
Parcourez en ligne ou téléchargez le pdf Manuel d'instruction pour {nom_de_la_catégorie} Olympus PT-058. Olympus PT-058 30 pages.

Remove any sand, dirt, etc.
After visually checking that dirt has been removed from the O-ring, check
for attached sand and other foreign matter, as well as for damage and
cracks by squeezing the entire circumference of the O-ring lightly with
your fi ngertips.
Remove attached foreign matter from the O-ring groove with a lint-free
clean cloth or a cotton swab. Also remove any sand or dirt attached to any
part of the Case that comes into contact with the O-ring.
• When a sharp object is used to remove the O-ring or to clean the inside of the O-ring
groove, the Case and the O-ring may be damaged and water leakage may be caused.
• When the O-ring is checked with the fi ngertips, take care not to stretch the O-ring.
• Never use alcohol, thinner, benzene or similar solvents or chemicals detergents to
clean the O-ring. When such chemicals are used, it is likely that the O-ring will be
damaged or that its deterioration will be accelerated.
How to Apply Grease to the O-ring
Apply the exclusive
1
lubricant to the
O-ring
Spread the lubricant
2
all over the O-ring.
Check that the O-ring
3
is free of scratches
or unevenness.
• Always perform maintenance of the waterproof function even when the Case has
been opened every shooting. Neglecting this maintenance may cause water leakage.
• When the Case is not to be used for a long time, remove the O-ring from the groove to
prevent deformation of the O-ring, apply a thin coat of silicone grease, and store it in a
clean plastic bag or the like.
Make sure that your fi ngers and the Oring
are free of dirt, then squeeze the appropriate
amount of exclusive lubricant onto a fi nger to
spread onto the entire circumference of the
O-ring (approx. 15 mm is adequate).
Apply the lubricant with 3 fi ngers and spread
it over the O-ring. Be careful not to use force
as this may stretch the Oring.
After spreading the lubricant, check visually
and by touch that the O-ring is not scratched
and that its surface is fl at. If it is damaged in
any way, be sure to replace it with a brand-
new O-ring.
EN
EN 43
