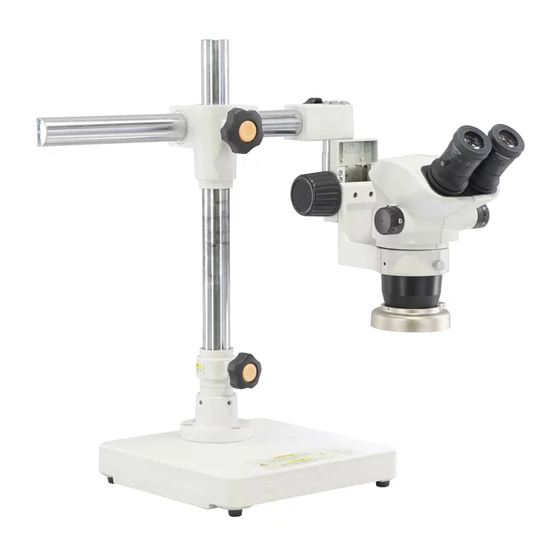
Olympus SZ2-STU1 Manuel d'instructions - Page 4
Parcourez en ligne ou téléchargez le pdf Manuel d'instructions pour {nom_de_la_catégorie} Olympus SZ2-STU1. Olympus SZ2-STU1 20 pages. Universal stand, table clamp stand

- 1. Table of Contents
- 2. IMPORTANT - be Sure to Read this Section for Safe Use of the Equipment
- 3. Modules, External View and Dimensions
- 4. Nomenclature and Assembly
- 5. Operation
- 6. IMPORTANT - be Sure to Read this Section for Safe Use of the Equipment
- 7. Sz2-Stu2
- 8. Modules, External View and Dimensions
- 9. Nomenclature and Assembly
- 10. Operation
IMPORTANT
SAFETY PRECAUTIONS
Load
Front
Top view
1
SZ2-STU1/SZ2-STU3
Side
Rear
Side
Fig. 1
Fig. 2
²
@
Fig. 3
SZ2-STU1
1. Install the stand on a level desktop (inclination angle of less than 3°).
2. When moving the stand, make sure that the clamping mechanisms are
secured tightly and lift the stand by holding it by the base plate. If the
stand is held by the horizontal arm or column alone, the base plate may
drop.
3. The load of the stand is limited (see table below). A heavy object such as
a photography unit cannot be used.
The column is attached at a position deviated from the center of the
base plate.
The safety of the stand varies depending on the orientation of the hori-
zontal arm. (Figs. 1 & 2)
When the horizontal arm is extended at maximum, the load to the bonder
arm is limited as shown in the following table.
Front 70°
Max. 4.6 kg
Side 85°
Max. 3.0 kg
Rear 120°
Max. 2.0 kg
The horizontal arm is most stable when it is oriented in the front 70°
range shown in Fig. 2.
4. When a wide space is required in front of the microscope, the horizontal
arm should often be oriented in the rear 120° range and the stand tends
to topple down easily. In this case, fix the stand firmly by using a table
clamp @ or placying a weight (3 kg or more) ² on the base plate. (Fig. 3)
* Under this condition, the stand tends
to topple down easily if another load
is applied during the microscope op-
eration. It is recommended to set the
horizontal arm as short as possible.
