Diesse MINI-CUBE Manuel de démarrage rapide
Parcourez en ligne ou téléchargez le pdf Manuel de démarrage rapide pour {nom_de_la_catégorie} Diesse MINI-CUBE. Diesse MINI-CUBE 3 pages.
PERFORMING AN ANALYSIS CYCLE
- Switch on the instrument
- Click START
Wait for the instrument to complete the initialization phase
Gently invert the tube 10-12 times for complete
inversion of the tube so that the air bubble that forms run through it
from one end to the other, immediately before starting the analysis.
From this moment on, it is possible to introduce the sample for testing.
During the first scan a "CHECK TUBE" pop-up window appears which determines the
display of the tube type (normal or pediatric) and the blood level, after which the
countdown will be activated.
Procedure for map TUBES (BD MICROTAINER®, MICROVETTE® APT
(SARSTEDT))
If most of the tubes are BD Microtainer® MAP, in the settings menu, MICROTUBE MAP
parameter, select ON.
QUICK START GUIDE
REFER TO THE USER MANUAL FOR ALL DETAILS
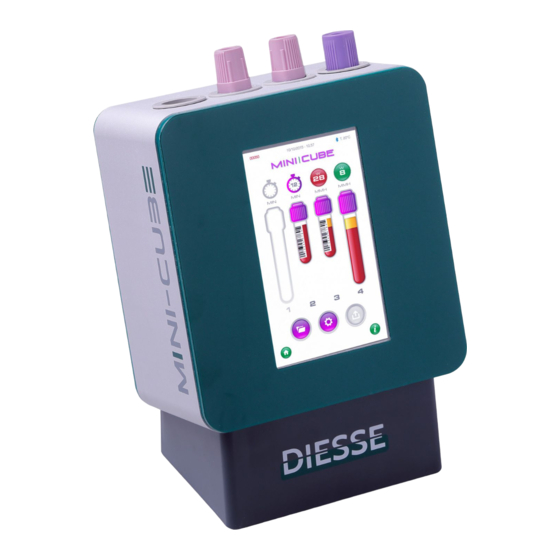
To start a cycle, insert the tubes orienting them as shown in the
photo in one of the free positions. If a barcode reader (optional) is
present, read the sample identification code before inserting the
tube. After insertion, the instrument scans to determine the blood
level at zero sedimentation time.
To analyze a MAP tube sample, touch the screen in one of the
empty positions to open the NEW SAMPLE window.
Select "Microtube MAP" YES (Y) and insert the tube in one of the
free positions.
The tube will be represented as a pediatric tube, with the letter
M on the cap, indicating that they are MAP tubes.
July 2021