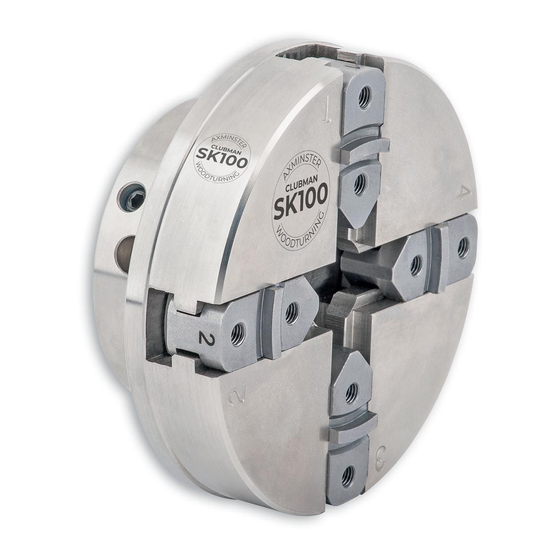
Axminster Woodturner's Clubman & Goliath Chucks Manuel de l'utilisateur - Page 15
Parcourez en ligne ou téléchargez le pdf Manuel de l'utilisateur pour {nom_de_la_catégorie} Axminster Woodturner's Clubman & Goliath Chucks. Axminster Woodturner's Clubman & Goliath Chucks 16 pages.

Mounting the Chuck to the Lathe...
The threaded insert of the chuck is precisely machined to fit the headstock of your lathe and
the chuck should screw firmly and fully into position. It may be necessary to restrain the
headstock shaft whilst finally screwing the chuck home and a suitably sized paper washer
placed on the headstock spindle will greatly assist chuck removal. Always ensure that the
power supply to the lathe is turned off and the power supply plug is removed from the power
source when fitting or removing the chuck. Never fit or remove the chuck by running the
lathe and holding the chuck, serious injury could result. To unscrew the chuck, the headstock
shaft should be locked or restrained and the chuck removed if necessary using a strap
wrench to grip the chuck. Great care should be exercised when removing the chuck from the
headstock as the sudden weight drop could cause damage or injury. If your lathe has a
reversing switch, great care should be exercised as there is no locking facility fitted on this
chuck and it will unscrew and come off the headstock spindle if the lathe spindle is reversed.
Changing Chuck Jaws...
The Accessory Mounting Jaws carry a register ring segment and are tapped with two M5
threaded holes. This register ring segment fits into a curved slot on the back face of all chuck
jaws (stepped jaws excepted), the jaws being secured with two M5 socket screws in each
segment. When fitting jaw segments to the Accessory Mounting Jaws leave the M5 securing
screws 1/2 a turn slack, firmly close the chuck jaws so that all jaws are touching then finally
tighten the screws securing the jaws ensuring correct alignment and equal spacing of the jaw
quadrants.
Other Woodturning Jaws...
Further jaws are listed below. For full description see our catalogue;
Havita Jaws. (Order no: 410175), Havita Plus Jaws (Order no: 410173).
Dovetail Jaws for small work. DOVE D (Order no: 410164).
Axminster Mega Jaws. DOVE M (Order no: 410174).
Axminster Gripper Jaws. DOVE H (Order no: 410170), DOVE BF (Order No: 410160).
Axminster Internal & External Jaw Set. (Order no: 200038).
Axminster 150mm Wood Jaw Plates. (Order no: 910403).
Axminster Cylinder Jaws. 25mm (Order no: 310424), 50mm (Order no: 310425).
Axminster Spigot Jaws. (Order no: 810067)
Maintenance...
As mentioned previously, there is minimal maintenance required. In the event of the chuck
requiring attention it will generally be due to a build up of dust. Firstly, remove any jaws
mounted on the accessory mounts, unscrew the chuck until the accessory mounting jaws
come out from the chuck body. You will now be able to see the scroll ring inside the body
and by turning the chuck key the whole of the scroll ring will become visible. By using a
small paintbrush and a suitable cleaning fluid you will be able to clean the inside of the
chuck body. Once this is done, just re-Iubricate using light machine oil, thin grease or a
synthetic dry lubricant which is usually available in an aerosol spray format.
When refitting the accessory mounting jaws you will see that they are individually stamped
with an identifying number(1 to 4). There are also position numbers engraved on the chuck
body which basically tells you to put the accessory mounting jaws into the body in an
anti-clockwise rotation. Firstly, turn the chuck key clockwise until the scroll outer end is about
to enter a recess. Insert the No I jaw and exert light pressure and turn the chuck key until
14
the scroll outer end begins to enter the second recess. Fit jaw No 2 and repeat the process
for jaw Nos 3 & 4. Now completely close the chuck to ensure conformation of correct fitting.
