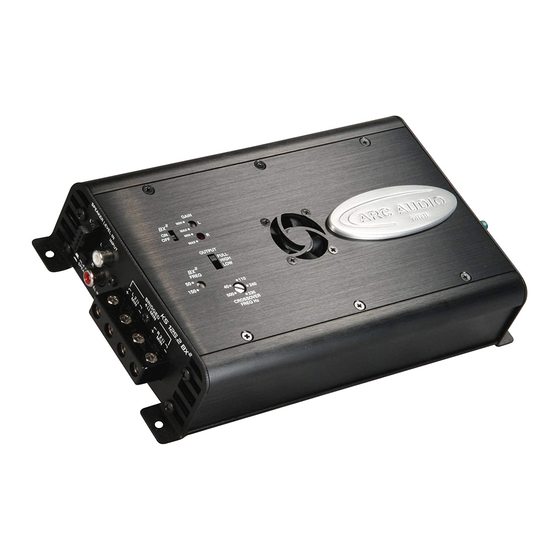
ARC Audio KS125.2 MINI Manuel d'instructions d'installation - Page 13
Parcourez en ligne ou téléchargez le pdf Manuel d'instructions d'installation pour {nom_de_la_catégorie} ARC Audio KS125.2 MINI. ARC Audio KS125.2 MINI 17 pages. Moto series

.......contined
SECTION 7 - Electra Glida
A-
Seat Removal (Electraglide only)
1)Seat removal on the Electra Glide series
motorcycle requires a few additional steps to the
Ultra Glide or the Ultra Classic.
2)First remove the side bags by opening the
covers and twisting the dual retaining camlocks on
the inside of the bag (See Figure 7A).
fully lift the bags from the guard bar housings and
set aside in a safe place. (See Figure 7B)
3)Next, on the right side of the motorcycle,
unbolt the seat strap by locating the T40 Torx bolt
on the right rear side of the seat and unbolt the
mount from the frame (See Figure 7D).
B. Rear Speaker Installation
If you are installing rear speakers on a
Harley Davidson Electraglide model it is recom-
mended to retain the connection of the speakers to
the factory head unit and not to the KS125.2 Mini
amplifier. For speaker replacement please proceed
to the following steps.
1) Using a phillips head screwdriver, remove
the 4 phillips head screws from the grills of both
drivers. (See Figure 7E)
2) Remove the speakers from the housing and
then cut the terminals off of the factory speaker
wires (See Figure 7F).
3) Then crimp on new female spade terminals
to the factory wires (Note the wires with the black
stripe shoud be hooked up to the positive terminal.
4) It may be necessary to trim the last 1/8"
of the mounting tabs of the speakers to allow for
correct fitment of the speaker into the factory
mounting position. Also depending on production
year and differences in factory clearances it may
be necessary to remove the decorative rubber boot
and plastic backplate from the back of the speaker
to allow for correct fitment.
5) Place the new speaker into the pod (See
figure 7G) and then re-screw the speaker and grill
into place using the factory (See Figure 7H).
Figure - 7A
Figure - 7B
Then care-
Figure - 7C
Figure - 7D
Figure - 7E
Figure - 7F
Figure - 7G
Figure - 7H
