AXTON AB25A Manuel d'installation - Page 12
Parcourez en ligne ou téléchargez le pdf Manuel d'installation pour {nom_de_la_catégorie} AXTON AB25A. AXTON AB25A 20 pages. 10" active subwoofer

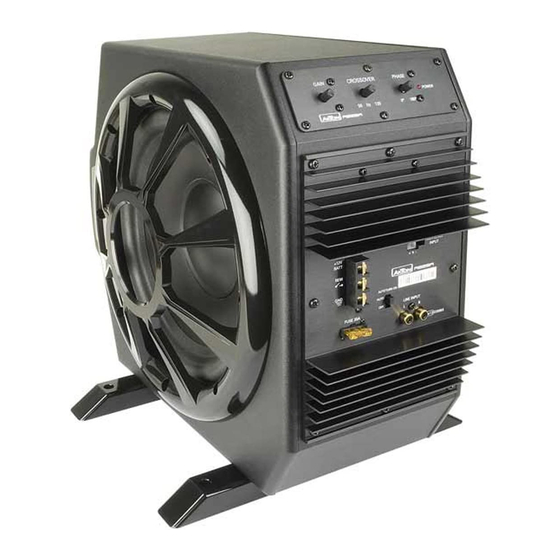
2. CONNECTIONS & CONTROLS
2.1 CONNECTIONS AT LOWER AMP PANEL
1 "+12V" POWER INPUT TERMINAL
Power input terminal to connect the active sub to the positive +12V power wire connected
to the car battery
2 "REMOTE" INPUT TERMINAL
Terminal to connect the active sub to the amp (remote) turn-on / turn-off lead of the head
unit
3 "GND" POWER INPUT TERMINAL
Power input terminal to connect the amplifier to the negative or ground wire connected
to the chassis of the vehicle
4 "FUSE TERMINAL"
Fuse terminal equipped with a 20 A ATC fuse, to protect the internal amp electronics of
the active sub
5 "HIGH LEVEL INPUT"
Port to connect the high level input plug to headunits that only offer loudspeaker outputs,
but no RCA line-level outputs
6 "RCA LINE INPUT"
RCA input to connect the active sub to the line-out of the head-unit
7 "AUTO TURN ON"
When using the "HIGH LEVEL", you can automatically turn on/off the amplifier with
music signal.
1
2
3
4
– 12 –
– 12 –
6
7
5
