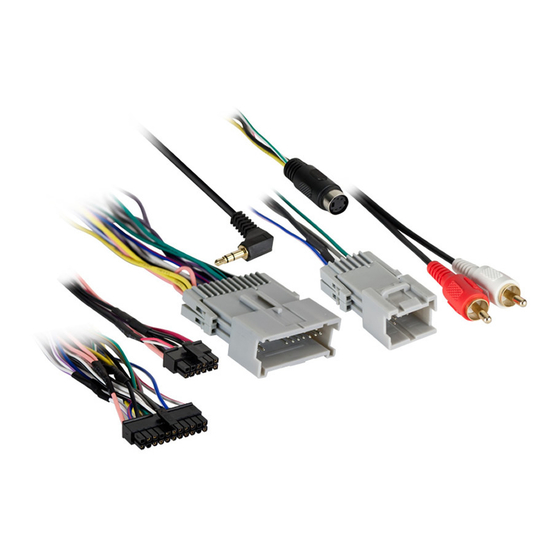
Axxess AX-ADGM03 Manuel d'instructions d'installation
Parcourez en ligne ou téléchargez le pdf Manuel d'instructions d'installation pour {nom_de_la_catégorie} Axxess AX-ADGM03. Axxess AX-ADGM03 12 pages. Data interface for gm

INTERFACE FEATURES
• Provides accessory power (12-volt 10-amp)
• Maintains the retained accessory power
(R.A.P.) feature
• Provides NAV outputs (parking brake,
reverse, speed sense)
• Retains chimes
* Only for models that have the RSE controlled through the factory radio. Not for models that have an external power button at the RSE.
† To retain fade in digital amplified models, use the AX-ADBOX1
INTERFACE COMPONENTS
• AX-ADGM03 harness • 4-pin to 4-pin resistor pad harness
APPLICATIONS
See inside front cover
AxxessInterfaces.com
GM Data Interface
INTRODUCTION
The AX-ADGM03 harness is designed for, and must be used with, the
AX-ADBOX1 or AX-ADBOX2 interface (sold separately). Please refer to the
AX-ADBOX1 or AX-ADBOX2 for the 16-pin connector with stripped leads.
• Retains OnStar / OE Bluetooth
• Adjustable OnStar level
• Retains RSE (rear seat entertainment) *
• Retains satellite radio
• Retains the factory AUX-IN jack
© COPYRIGHT 2018 METRA ELECTRONICS CORPORATION
2000-2013
• Pre-wired ASWC-1 harness (ASWC-1 sold
separately)
• Can be used in non-amplified, or analog/
digital amplified models
• Retains balance and fade†
• Micro "B" USB updatable
AX-ADGM03
I N S TA L L AT I O N I N S T R U C T I O N S
TABLE OF CONTENTS
For models without an amplifier ................... 3-4
For models with an analog amplifier ............4-5
For models with a digital amplifier ...................6
12-pin pre-wired ASWC-1 harness ......................7
DIN jack ................................................................7
AX-ADBOX1 ...........................................................8
AX-ADBOX2 ......................................................8-9
Adjusting the AX-ADGM03 ................................... 10
Extra features ................................................... 10-11
TOOLS REQUIRED
• Crimping tool and connectors, or solder gun, solder,
and heat shrink • Small flat-blade screwdriver
• Tape • Wire cutter • Zip ties
CAUTION!
All accessories, switches, climate
controls panels, and especially air bag indicator
lights must be connected before cycling the
ignition. Also, do not remove the factory radio
with the key in the on position, or while the
vehicle is running.
REV. 7/2/18 INSTAX-ADGM03
