Epson 7800 - Stylus Pro Color Inkjet Printer Manuel de déballage et d'installation - Page 18

Parcourez en ligne ou téléchargez le pdf Manuel de déballage et d'installation pour {nom_de_la_catégorie} Epson 7800 - Stylus Pro Color Inkjet Printer. Epson 7800 - Stylus Pro Color Inkjet Printer 27 pages. Stylus pro 800 series
Également pour Epson 7800 - Stylus Pro Color Inkjet Printer : Brochure & Specs (8 pages), Spécifications (4 pages), Manuel de démarrage (10 pages), Manuel de l'utilisateur (11 pages), Manuel de référence rapide (12 pages), Manuel complémentaire (1 pages), Garantie limitée (12 pages), Brochure & Specs (8 pages), Bulletin d'information sur les produits (10 pages), Brochure & Specs (16 pages), Feuille d'avis (4 pages)
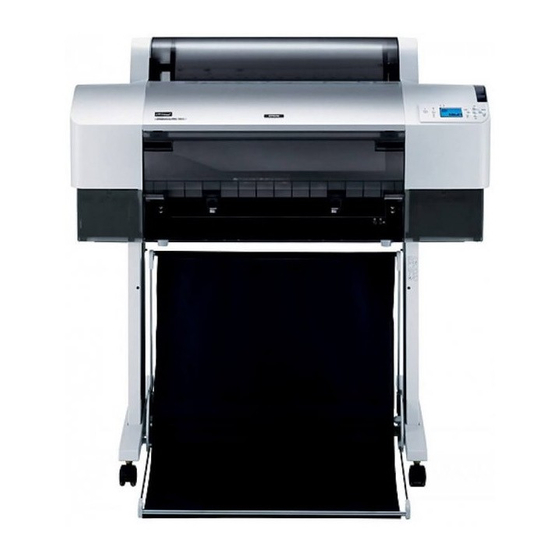
Epson 7800 - Stylus Pro Color Inkjet Printer Manuel de déballage et d'installation
❏ Each slot can hold a particular color of ink. Be sure
to install the ink cartridges in the correct slots
according to the ink mode you choose.
1 2 3 4
No.
EPSON Stylus Pro
9800/7800
#1
Light Light Black
#2
Light Magenta
#3
Light Cyan
#4
Light Black
#5
Matte Black or
Photo Black
#6
Cyan
#7
Magenta
#8
Yellow
1. Turn on the printer by pressing the Power
button. After a short time INSTALL INK
CARTRIDGE is displayed on the LCD panel.
18
5 6 7 8
EPSON Stylus Pro
9400/7400
Matte Black
Matte Black
Magenta
Magenta
Cyan
Cyan
Yellow
Yellow
2. Open the ink compartment cover, and make
sure that the ink lever is in the up position.
3. Remove the package from an ink cartridge.
c
Caution:
Do not shake cartridges (that have been
installed previously) with too much force.
4. Hold the ink cartridge with the arrow mark
facing up and pointing to the rear of the
printer, and then insert it in the slot until the
corresponding ink mark is displayed on the
LCD.
5. Repeat step 3 and 4 for the other ink cartridges.