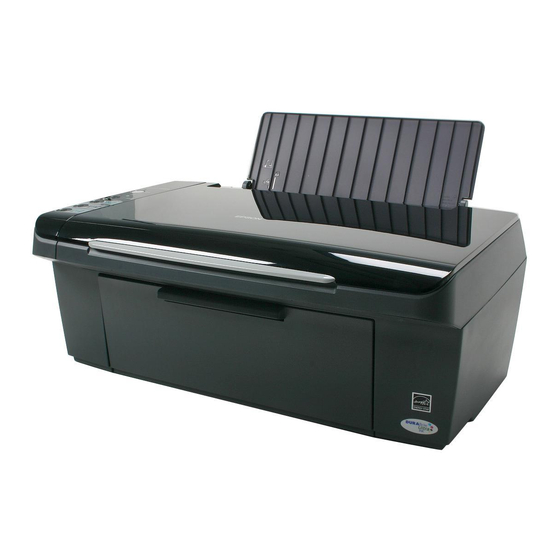
Epson CX4400 - Stylus Color Inkjet Informations sur le produit - Page 6
Parcourez en ligne ou téléchargez le pdf Informations sur le produit pour {nom_de_la_catégorie} Epson CX4400 - Stylus Color Inkjet. Epson CX4400 - Stylus Color Inkjet 13 pages. Epson scan icm updater v1.20 (psb.2008.07.001)
Également pour Epson CX4400 - Stylus Color Inkjet : Manuel rapide (36 pages), Manuel de l'utilisateur (2 pages), Commencer ici Manuel (8 pages), Mise à jour (1 pages), Commencer ici (4 pages)

Epson Stylus CX4400 Series
Copying
You can make copies using letter-size (8.5 × 11-inch) plain
paper or 4 × 6-inch photo paper.
Copying a Document
1. Make sure the CX4400 Series is turned on.
2. Place the document on the glass as described on page 5. Be
sure to close the document cover.
3. Load up to 80 sheets of letter-size plain paper or Epson
Bright White Paper (see page 3 if you need instructions.)
4. Do one of the following:
❏ To make a color copy, press the
button. To make a black
x
Color Text
and white copy, press the x
button.
❏ If you want to enlarge your document
to fit on the paper you loaded, press and
hold either the x
Color Text
button for 3 seconds.
B&W Text
x
❏ To print a quick draft copy, press and
hold the y
button as you press
Stop
either the x
Color Text
button.
x
B&W Text
If you need to stop copying, press the y
button. Do not pull out paper that is being
printed; it will be ejected automatically to the
output tray.
Note:
The copies may not be exactly the same size as the original.
Copying a Photo
1. Make sure the CX4400 Series is turned on.
2. Place the photo on the glass as described on page 5. Be sure
to close the document cover.
3. Load up to 20 sheets of 4 × 6-inch photo paper. (See page 3
if you need instructions.)
4. Press the x
Color Photo
6
B&W Text
or
or
Stop
button.
Scanning a Photo or Document
You can use your CX4400 Series to scan a photo or document
and save it on your computer or other device, or to fax or e-
mail it to someone else.
You can even restore faded color photographs or correct
backlighting as you scan (see page 7 for details).
The Epson Scan software provides three scanning modes for
progressive levels of control over your scanned image:
❏
Full Auto Mode
settings.
❏
previews your image and provides automatic
Home Mode
image adjustments, cropping tools, and preset options for
various types of scans.
❏
Professional Mode
manually configure your scan settings with a full array of
tools.
Basic Scanning
You can scan from any TWAIN-compliant application—such
as ArcSoft PhotoImpression
can start Epson Scan directly from your computer and save
your image to a file.
1. Open the document cover and place your original face-
down on the glass, in the front right corner, as shown on
page 5.
2. Close the cover gently so you don't move the original.
3. Do one of the following to start EPSON Scan:
❏ Windows
®
: Double-click the
your desktop.
❏ Macintosh
®
: Double-click
Applications folder.
❏ If you are scanning from an application, start your
application. Then open the File menu, choose
or
and select
Acquire,
5/07
scans quickly and easily using automatic
previews your image and lets you
™
—using Epson Scan. Or you
EPSON Scan
EPSON Scan
Epson Stylus CX4400 Series.
icon on
in the
Import
