Arcom RC210 Manuel - Page 3
Parcourez en ligne ou téléchargez le pdf Manuel pour {nom_de_la_catégorie} Arcom RC210. Arcom RC210 4 pages. Rtc real time clock module
Également pour Arcom RC210 : Manuel d'assemblage (8 pages)
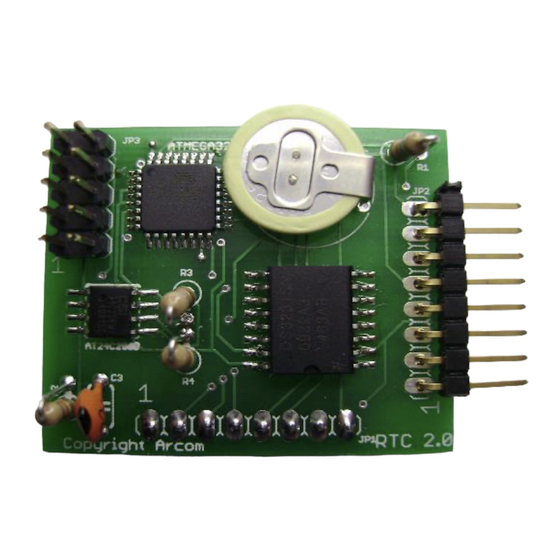
Connecting The RTC To The RC210
Installation couldn't be simpler. Simply plug the RTC Board Connector (JP1) onto the RC210's I/O Expand 8 pin header. If you have the
optional AP1 Intelligent Autopatch, first remove its 8 pin connector from the RC210's I.O Expand Connector.
Take care to insure you have it oriented correctly (pin 1 to pin1). When done, it should look like this:
If you have the optional AP1 Intelligent Autopatch, plug its 8 pin connector into the RTC's JP2 connector, taking care to line up pin
1.That's it! Now power up your RC210 and set the clock and calendar (which should be the last time you ever have to do that!)
PC Board Layout