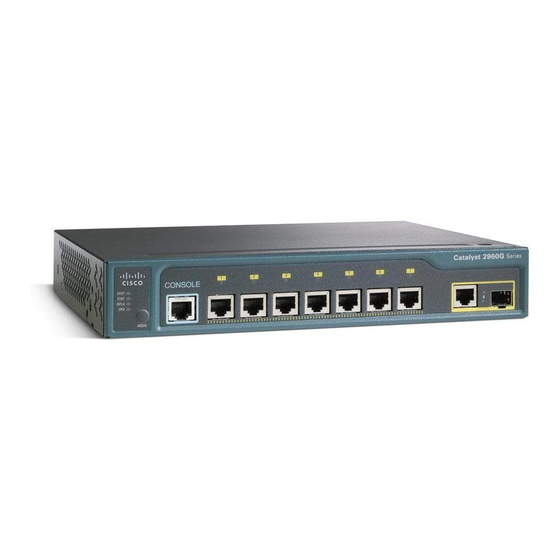
Cisco 2960 8TC - Catalyst Switch Manuel de démarrage - Page 7
Parcourez en ligne ou téléchargez le pdf Manuel de démarrage pour {nom_de_la_catégorie} Cisco 2960 8TC - Catalyst Switch. Cisco 2960 8TC - Catalyst Switch 23 pages. 8-port switches

Click Submit to save your settings, or click Cancel to clear your settings.
Step 12
When you click Submit, the switch is configured and exits Express Setup mode. The PC
displays a warning message and tries to connect with the new switch IP address. If you
configured the switch with an IP address that is in a different subnet from the PC, connectivity
between the PC and the switch is lost.
Disconnect the switch from the PC, and install the switch in your network. See the "Managing
Step 13
the Switch" section on page 7 for information about configuring and managing the switch.
If you need to rerun Express Setup, see the "Resetting the Switch" section on page 18.
Refreshing the PC IP Address
After you complete Express Setup, you should refresh the PC IP address.
For a dynamically assigned IP address, disconnect the PC from the switch, and reconnect it to the
network. The network DHCP server assigns a new IP address to the PC.
For a statically assigned IP address, change it to the previously configured IP address.
4
Managing the Switch
After completing Express Setup and installing the switch in your network, use the device manager,
Cisco Network Assistant, or another of the management options described in this section for further
configuration.
Using the Device Manager
You can manage the switch by using the device manager that is in the switch memory. This is a web
interface that offers quick configuration and monitoring. You can access the device manager from
anywhere in your network through a web browser.
Follow these steps:
1. Start a web browser on your PC or workstation.
2. Enter the switch IP address in the web browser, and press Enter. The device manager page appears.
3. Use the device manager to perform basic switch configuration and monitoring. Refer to the device
manager online help for more information.
4. For a more advanced configuration, install Cisco Network Assistant as described in the next
section.
7
