Crest Audio Versarray Mk III FlyQWIK Spécifications et instructions - Page 3
Parcourez en ligne ou téléchargez le pdf Spécifications et instructions pour {nom_de_la_catégorie} Crest Audio Versarray Mk III FlyQWIK. Crest Audio Versarray Mk III FlyQWIK 16 pages.
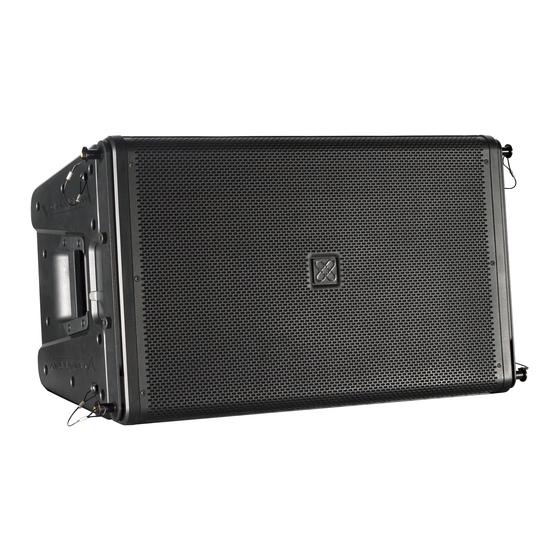
Installation of each individual bracket and/or plate is started by the removal of the bolts on the top and
sides of the cabinet that correspond with the particular bracket being installed. There are 8 bolts on the top
of the cabinet and 2 on each side to be removed. A 6.0 mm Allen wrench (Hex Key) is required to remove
the bolts. See Fig. 1 – 4
Figure 1
Figure 3
Left Strap Stacking Bracket
1. After the two bolts have been removed, place the bracket into position. Orient it so that the ear is on the edge
of the cabinet. See Fig. 5
Crest Audio® Versarray™
VR Ground Stack Kit
Installation Procedure
Figure 2
Figure 4
Figure 5
3