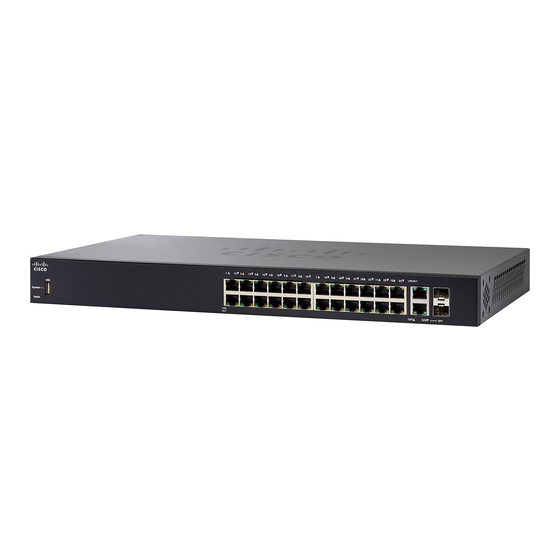
Get To Know Your Switch
The Getting Started page opens. You are now ready to configure the switch. Refer to the Administration Guide or see
the help pages for further information.
Browser Restrictions
If you are using IPv6 interfaces on your management station, use the IPv6 global address and not the IPv6
link local address to access the device from your browser.
Configuring Your Switch Using the Console Port
To configure the switch using the console port, proceed with the following steps:
Step 1
Connect a computer to the switch console port using a Cisco console cable (purchased separately).
Step 2
Start a console port utility such as HyperTerminal on the computer.
Step 3
Configure the utility with the following parameters:
• 115200 bits per second
• 8 data bits
• no parity
• 1 stop bit
• no flow control
Step 4
Enter a username and password. The default username is cisco, and the default password is cisco. Usernames and passwords
are both case sensitive.
If this is the first time that you have logged on with the default username and password, the following message appears:
Please change your username AND password from the default settings. Change of credentials
is required for better protection of your network.
Please note that new password must follow password complexity rules
Step 5
Set a new administrator username and password.
Caution
Make sure that any configuration changes made are saved before exiting.
You are now ready to configure the switch. See the CLI Guide for your switch.
Note
If you are not using DHCP on your network, set the IP address type on the switch to Static and change the static
IP address and subnet mask to match your network topology. Failure to do so may result in multiple switches
using the same factory default IP address of 192.168.1.254.
Console access also provides additional interfaces for debug access which are not available via the web interface. These
debug access interfaces are intended to be used by a Cisco Support Team personnel, in cases where it is required to debug
device's behavior. These interfaces are password protected. The passwords are held by the Cisco support team. The device
supports the following debug access interfaces:
• U-BOOT access during boot sequence
Configuring Your Switch Using the Console Port
Get To Know Your Switch
7

