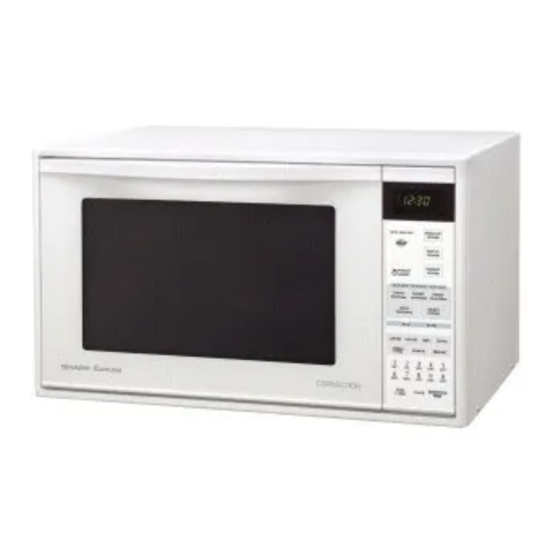
Sharp Carousel R-995J Manuel d'entretien - Page 35
Parcourez en ligne ou téléchargez le pdf Manuel d'entretien pour {nom_de_la_catégorie} Sharp Carousel R-995J. Sharp Carousel R-995J 48 pages. Convection microwave oven
Également pour Sharp Carousel R-995J : Manuel d'utilisation (48 pages)

11.CARRY OUT 4R CHECKS.
NOTE: After any service to the door;
An approved microwave survey meter should be
used to assure compliance with proper microwave
radiation emission limitation standards. (Refer to
Microwave Measurement.)
DOOR ADJUSTMENT
The door is adjusted by keeping the screws of each hinge
loose.
After adjustment, make sure of the following :
1. Door latch heads smoothly catch the latch hook through
the latch holes, and the latch head goes through the
centre of the latch hole.
2. Deviation of the door alignment from horizontal line of
cavity face plate is to be less than 1.0mm.
Remove door assembly, refer to "Door Replacement".
Replacement of door components are as follows:
1. Place door assembly on a soft cloth with latches facing
up.
NOTE: As the engaging part of choke cover and door
panel are provided at 16 places, do not force any
particular part.
CHOKE COVER
2. Insert an iron plate (thickness of about 0.5mm) into the
gap between the choke cover and the door panel as
shown figure to free engaging parts.
3. Lift up choke cover.
4. Now choke cover is free from door panel.
NOTE: When carrying out any repair to the door, do
not bend or warp the slit choke (tabs on the
door panel assembly) to prevent microwave
leakage.
LIFT UP
HANDLE
5. Remove the five (5) screws holding the handle to the
door panel.
6. Pull out the handle from the door frame.
7. Now, the handle is free.
DOOR FRAME
DOOR PARTS DISASSEMBLY
PUTTY KNIFE
CHOKE COVER
PUTTY KNIFE
BENT
CHOKE COVER
INSIDE
DOOR
PANEL
FRONT
HANDLE
3. The door is positioned with its face depressed toward
the cavity face plate.
4. Re-install outer case and check for microwave leakage
around the door with an approved microwave survey
meter. (Refer to Microwave Measurement .)
SPRING
DOOR CAM
LEFT
OVEN HINGE
LEFT
DOOR
ASSEMBLY
OUTER FRAME
DOOR GLASS
8. Pull out the door glass from the door frame.
9. Now, the door glass is free.
Note: When the new door glass is installed, attach the
two both sides adhesive tapes on the upper and
lower portion of the door frame front surface. The
both side adhesive tape should be used size of
5mm x 50mm and thickness of 0.4mm ~ 0.8mm.
DOOR GLASS
BOTH SIDES
ADHESIVE TAPE
DOOR FRAME
10.Remove the five (5) screws holding the door frame to
the door panel.
11.Release the two (2) tabs of the door frame holding the
door frame to the door panel.
12.Now, the door frame is free.
LATCH HEADS
13.Release the one (1) spring from the tab of the door
panel at the left and right sides.
14.Remove each one (1) screw holding the latch head to
the door panel at the left and right sides.
15.Remove the latch head with spring from the door panel
at the left and right sides.
16.Release the spring from the latch head at the left and
right sides.
17.Now, the latch heads are free.
18.And, the door panel is free.
33
R-995J
OUTER CASE CABINET
DOOR CAM
RIGHT
SPRING
OVEN HINGE
RIGHT
DOOR FRAME
