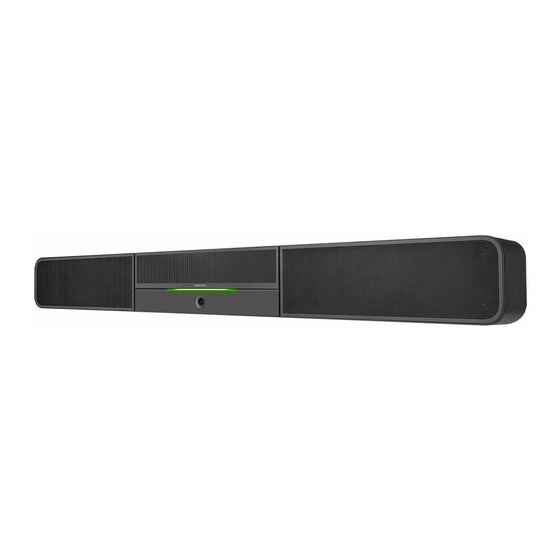
Crestron UC-SB1-CAM Pour commencer - Page 6
Parcourez en ligne ou téléchargez le pdf Pour commencer pour {nom_de_la_catégorie} Crestron UC-SB1-CAM. Crestron UC-SB1-CAM 10 pages. Uc video conference smart soundbar & camera
Également pour Crestron UC-SB1-CAM : Démarrage rapide (2 pages), Manuel de démarrage rapide (2 pages), Démarrage rapide (2 pages)

UC-SB1-CAM
UC Video Conference Smart Soundbar & Camera
2. Drill two pilot holes on each side of the center reference line as shown in the previous diagram. Each side should have one pilot hole drilled in each row
of the template.
3. Use a drywall saw to make a cutout in the wall for the soundbar cables. The cutout in the center of the template provides adequate access for all of
the required cabling.
4. Install the four included anchors and screws into the drilled pilot holes.
5. Place the soundbar face down, and pivot the wall bracket away from the soundbar.
Quick Start
4
