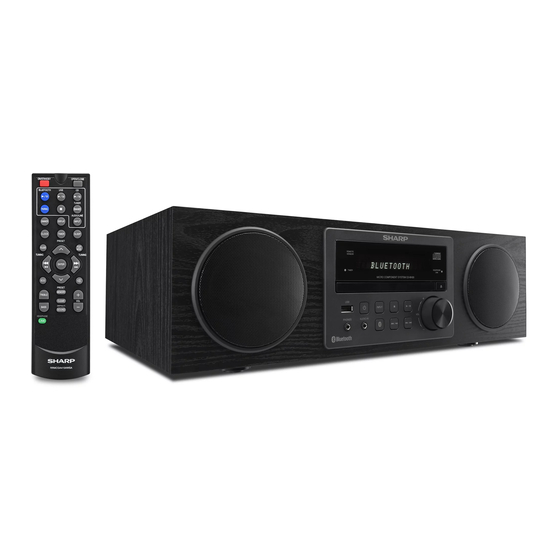
Sharp CD-BH20 Manuel d'utilisation - Page 9
Parcourez en ligne ou téléchargez le pdf Manuel d'utilisation pour {nom_de_la_catégorie} Sharp CD-BH20. Sharp CD-BH20 21 pages.

- 1. Special Notes
- 2. Consumer Limited Warranty
- 3. Controls and Indicators
- 4. System Connection
- 5. Remote Control
- 6. General Control
- 7. Setting the Clock (Remote Control Only)
- 8. Listening to Bluetooth Enabled Devices
- 9. Listening to a CD or MP3 Disc
- 10. Listening to USB Mass Storage Device/Mp3 Player
- 11. Listening to the Radio
- 12. Timer and Sleep Operation (Remote Control Only)
- 13. Enhancing Your System
- 14. Troubleshooting Chart
- 15. Maintenance
- 16. Specifications
Setting the clock (Remote control only)
In this example, the clock is set for the 12-hour (AM 12:00)
display.
1
Press the
(ON/STANDBY) button to turn the power
on.
2
Press the CLOCK button.
3
Within 10 seconds, press the ENTER button. To adjust
the day, press the
press the ENTER button.
4
Press the
or
12-hour display and then press the ENTER button.
The 12-hour display will appear.
(AM 12:00 - PM 11:59)
The 12-hour display will appear.
(AM 0:00 - PM 11:59)
The 24-hour display will appear.
(0:00 - 23:59)
or
button and then
button to select 24-hour or
5
To adjust the hour, press the
and then press the ENTER button. Press the
button once to advance the time by 1 hour. Hold
it down to advance continuously.
6
To adjust the minutes, press the
ton and then press the ENTER button. Press the
or
button once to advance the time by 1 minute.
Hold it down to advance the time by 5 minutes interval.
To confirm the time display:
Press the CLOCK button. The time display will appear for
about 10 seconds.
Note:
When power supply is restored after unit is plugged in again
or after a power failure, reset the clock.
To readjust the clock:
Perform "Setting the clock" from step 1.
To change the 24-hour or 12-hour display:
1
Clear all the programmed contents. [Refer to "Factory
reset, clearing all memory" on page 18 for details.]
2
Perform "Setting the clock" from step 1 onward.
E-8
or
button
or
or
but-
