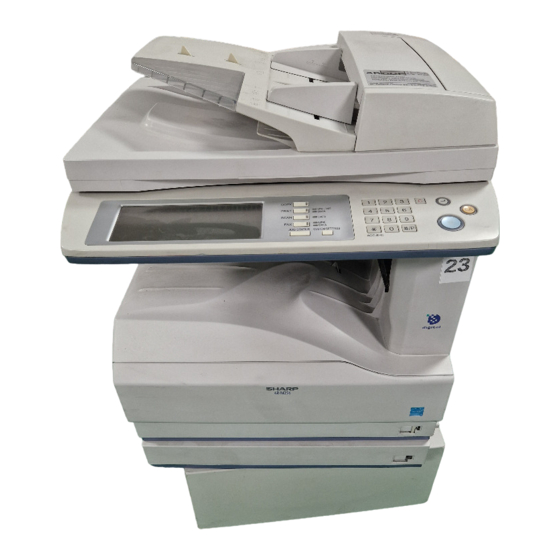
Sharp AR-M257 - Digital Imager B/W Laser Manuel de configuration - Page 11
Parcourez en ligne ou téléchargez le pdf Manuel de configuration pour {nom_de_la_catégorie} Sharp AR-M257 - Digital Imager B/W Laser. Sharp AR-M257 - Digital Imager B/W Laser 20 pages. Operation manual for network scanner
Également pour Sharp AR-M257 - Digital Imager B/W Laser : Manuel d'utilisation (4 pages), Brochure & Specs (8 pages), Fiche technique (2 pages), Manuel en ligne (36 pages), Manuel d'utilisation (48 pages)

Installation in Windows 98/Me/NT 4.0/2000 (Parallel cable)
For users of Windows NT 4.0
Note
The CD-ROM does not include software for Windows NT 4.0.
Contact your dealer or nearest authorized service representative if you want the software for
Windows NT 4.0.
1
The parallel cable must not be connected
to the machine. Make sure that the cable
is not connected before proceeding.
If the cable is connected, a Plug and Play
window will appear. If this happens, click
the "Cancel" button to close the window
and disconnect the cable.
The cable will be connected in step 17.
Note
2
Insert the "Software CD-ROM" into your
computer's CD-ROM drive.
3
Double-click "My Computer" (
then double-click the [CD-ROM] icon
(
).
4
Double-click the "Setup" icon (
5
The "SOFTWARE LICENSE" window will
appear. Make sure that you understand
the contents of the license agreement,
and then click the "Yes" button.
You can show the "SOFTWARE
Note
LICENSE" in a different language by
selecting the desired language from
the language menu. To install the
software in the selected language,
continue the installation with that
language selected.
6
Read the message in the "Welcome"
window and then click the "Next" button.
7
Click the "Custom" button.
), and
8
Click the "Printer Driver" button.
).
Before installing the software, be sure to
click the [Display Readme] button and view
the detailed information on the software.
9
Click the "Next" button.
If you are using Windows NT 4.0, go to step 12.
INSTALLING THE SOFTWARE
9
