Sharp MX-2300N Guide Manuel de configuration du logiciel - Page 18

Parcourez en ligne ou téléchargez le pdf Manuel de configuration du logiciel pour {nom_de_la_catégorie} Sharp MX-2300N Guide. Sharp MX-2300N Guide 48 pages. Sharp mx-2700n, mx-2300n mfp - scan to e-mail instructions
Également pour Sharp MX-2300N Guide : Spécifications (2 pages), Manuel de dépannage (44 pages), Manuel de sécurité (28 pages), Manuel de classement des documents (47 pages), Instructions pour la numérisation vers le courrier électronique (7 pages)
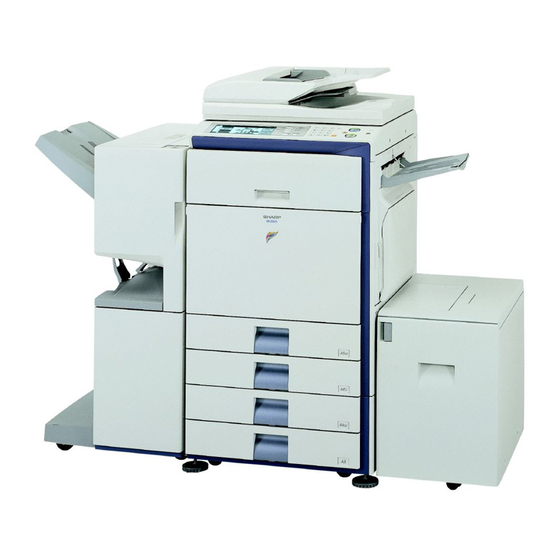
Sharp MX-2300N Guide Manuel de configuration du logiciel
INSTALLING THE PRINTER DRIVER / PC-FAX DRIVER
7
Click the [Printer Driver] button.
To view information on the software, click the [Display
Readme] button.
8
Click the [Next] button.
9
Click the [Custom installation] button.
10
When you are asked how the printer is
connected, select [Connected to this
computer] and click the [Next] button.
16
11
When you are asked if you wish to
install the display fonts, select an
answer and click the [Next] button.
12
Follow the on-screen instructions.
Read the message in the window that appears and click
the [Next] button.
When the installation completed screen appears, click
the [OK] button.
If you are using Windows 2000/XP/Server 2003
If a warning message regarding the Windows logo test
or digital signature appears, be sure to click the
[Continue Anyway] or [Yes] button.
13
Click the [Close] button in the window
of step 7.
When a message appears prompting you to connect the
machine to your computer, click the [OK] button.
After the installation, a message prompting you to
restart your computer may appear. If this message
appears, click the [Yes] button to restart your
computer.