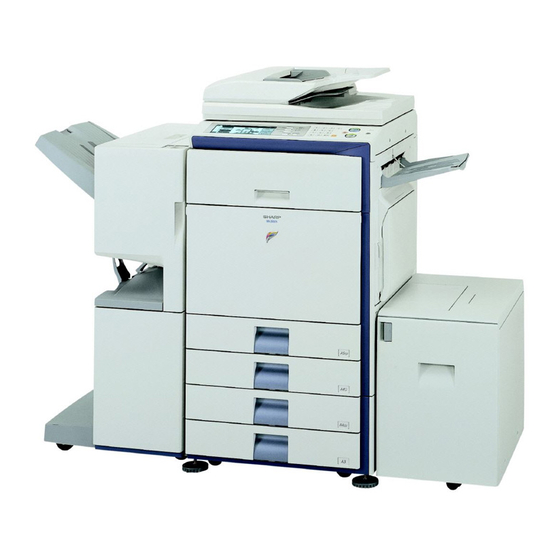
Sharp MX-2700N Guide Manuel de dépannage - Page 29

Parcourez en ligne ou téléchargez le pdf Manuel de dépannage pour {nom_de_la_catégorie} Sharp MX-2700N Guide. Sharp MX-2700N Guide 44 pages. Sharp mx-2700n, mx-2300n mfp - scan to e-mail instructions
Également pour Sharp MX-2700N Guide : Spécifications (2 pages), Manuel de sécurité (28 pages), Manuel de classement des documents (47 pages), Instructions pour la numérisation vers le courrier électronique (7 pages), Manuel de configuration du logiciel (48 pages)

Sharp MX-2700N Guide Manuel de dépannage
OTHER PROBLEMS
This chapter explains how to resolve problems related to the general operation of the machine. Locate your question or
problem in the table of contents below and refer to the appropriate page.
• Specified machine functions cannot be used.. . . . . . . . . . . . . . . . . . . . . . . . . . . . . . . . . . . . . . . . . . . . 28
• The operation panel cannot be used. . . . . . . . . . . . . . . . . . . . . . . . . . . . . . . . . . . . . . . . . . . . . . . . . . . 28
• Printing is not possible or stops during a job. . . . . . . . . . . . . . . . . . . . . . . . . . . . . . . . . . . . . . . . . . . . . 29
• The displayed bypass tray paper size is not correct. . . . . . . . . . . . . . . . . . . . . . . . . . . . . . . . . . . . . . . 30
• The original misfeeds.. . . . . . . . . . . . . . . . . . . . . . . . . . . . . . . . . . . . . . . . . . . . . . . . . . . . . . . . . . . . . . 30
• The paper misfeeds. . . . . . . . . . . . . . . . . . . . . . . . . . . . . . . . . . . . . . . . . . . . . . . . . . . . . . . . . . . . . . . . 30
• Paper does not feed from the paper tray. . . . . . . . . . . . . . . . . . . . . . . . . . . . . . . . . . . . . . . . . . . . . . . . 31
• The image on paper from the bypass tray is skewed. . . . . . . . . . . . . . . . . . . . . . . . . . . . . . . . . . . . . . 31
• The automatic document feeder does not operate. . . . . . . . . . . . . . . . . . . . . . . . . . . . . . . . . . . . . . . . 31
• Lines appear in the scanned image. . . . . . . . . . . . . . . . . . . . . . . . . . . . . . . . . . . . . . . . . . . . . . . . . . . . 31
• Smudges appear on printed output. . . . . . . . . . . . . . . . . . . . . . . . . . . . . . . . . . . . . . . . . . . . . . . . . . . . 31
• Toner does not adhere well or creases appear in the paper. . . . . . . . . . . . . . . . . . . . . . . . . . . . . . . . . 32
• Print quality is poor. . . . . . . . . . . . . . . . . . . . . . . . . . . . . . . . . . . . . . . . . . . . . . . . . . . . . . . . . . . . . . . . 32
• Part of the image is cut off. . . . . . . . . . . . . . . . . . . . . . . . . . . . . . . . . . . . . . . . . . . . . . . . . . . . . . . . . . . 32
• Printing takes place on the wrong side of the paper. . . . . . . . . . . . . . . . . . . . . . . . . . . . . . . . . . . . . . . 32
• The connected USB device cannot be used. . . . . . . . . . . . . . . . . . . . . . . . . . . . . . . . . . . . . . . . . . . . . 33
• The finisher / saddle stitch finisher does not operate.. . . . . . . . . . . . . . . . . . . . . . . . . . . . . . . . . . . . . . 33
• Stapling does not take place (including pamphlet stapling). . . . . . . . . . . . . . . . . . . . . . . . . . . . . . . . . . 33
• Punching does not take place. . . . . . . . . . . . . . . . . . . . . . . . . . . . . . . . . . . . . . . . . . . . . . . . . . . . . . . . 34
• The stapling position or punch position is not correct. . . . . . . . . . . . . . . . . . . . . . . . . . . . . . . . . . . . . . 34
• The touch panel screen is difficult to view. . . . . . . . . . . . . . . . . . . . . . . . . . . . . . . . . . . . . . . . . . . . . . . 35
• You were logged out without having performed logout yourself. . . . . . . . . . . . . . . . . . . . . . . . . . . . . . 35
• You forgot the administrator password. . . . . . . . . . . . . . . . . . . . . . . . . . . . . . . . . . . . . . . . . . . . . . . . . 35
• When the main power is switched off, the main power indicator on the operation panel does not
turn off. . . . . . . . . . . . . . . . . . . . . . . . . . . . . . . . . . . . . . . . . . . . . . . . . . . . . . . . . . . . . . . . . . . . . . . . . . 35
Illustration of the machine . . . . . . . . . . . . . . . . . . . . . . . . . . . . . . . . . . . . . . . . . . . . . . . . . . . . . . . . . . . . 36
If you are unable to solve a problem using the solutions in this manual, switch off the [POWER] key (
power switch. Wait at least 10 seconds, and then switch on the main power switch and the [POWER] key (
order.
* When the LINE indicator is lit or the DATA indicator is lit or blinking, do not switch off the main power switch or unplug
the power plug. This may damage the hard drive or cause the data being stored or received to be lost.
) and the main
) in that
27