Crestron 4 Series Manuel de démarrage rapide

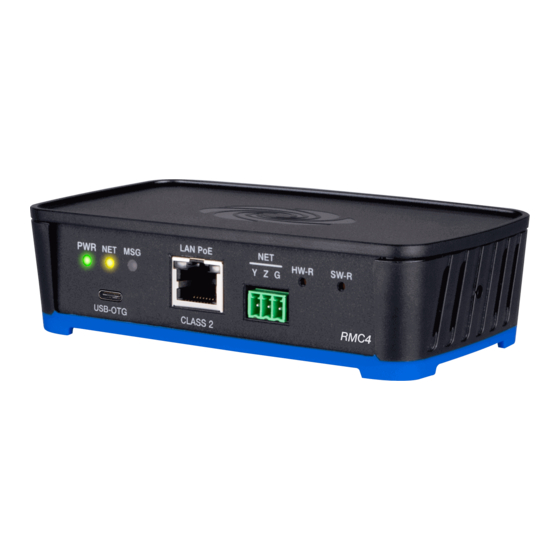
Parcourez en ligne ou téléchargez le pdf Manuel de démarrage rapide pour {nom_de_la_catégorie} Crestron 4 Series. Crestron 4 Series 6 pages. Control processor for zūm lighting control system
Également pour Crestron 4 Series : Manuel de démarrage rapide (8 pages), Manuel de démarrage rapide (8 pages), Manuel de démarrage rapide (6 pages), Démarrage rapide (5 pages), Manuel de démarrage rapide (6 pages), Manuel de démarrage rapide (2 pages), Manuel de démarrage rapide (2 pages), Pour commencer (2 pages), Manuel de démarrage rapide (2 pages), Manuel de démarrage rapide (12 pages)

Crestron 4 Series Manuel de démarrage rapide
DIN-AP4
4-Series™ DIN Rail Control System
The Crestron®
DIN-AP4
is a control system designed specifically for
DIN rail mounting applications. The DIN-AP4 features a powerful
4-Series™ control engine and provides numerous integrated control ports.
The DIN-AP4 serves as the core processor for controlling a complete
DIN rail automation system.
In the Box
1
DIN-AP4, 4-Series™ DIN Rail Control System
Additional Items
1
Connector, 2-Pin (2020549)
2
Connector, 4-Pin (2020555)
2
Connector, 5-Pin (2020548)
2
Connector, 8-Pin (2020551)
1
Connector, 9-Pin (2020552)
Mount the DIN-AP4
The DIN-AP4 can be mounted onto a standard DIN rail (not included).
Observe the following prior to mounting the DIN-AP4:
Use in an electrical panel with DIN rail mounting provisions.
l
Mount in a well-ventilated area.
l
Do not block the venting holes.
l
CAUTION: To prevent overheating, do not operate the DIN-AP4 in an
area that exceeds the environmental temperature range (41 to 113 °F or
5 to 45 °C) for this device.
To mount the DIN-AP4:
1. Hang the DIN-AP4 on the top of the DIN rail.
2. Align the bottom of the DIN-AP4 with the DIN rail, then snap the
DIN-AP4 into place.
To remove the DIN-AP4 from the DIN rail:
1. Turn off the power to the DIN-AP4.
2. Remove all connections from the DIN-AP4.
3. Use a small, flat-head screwdriver to pull the DIN rail release tab down.
4. Tilt the bottom of the DIN-AP4 away from the bottom of the DIN rail,
then remove the DIN-AP4.
Quick Start
1