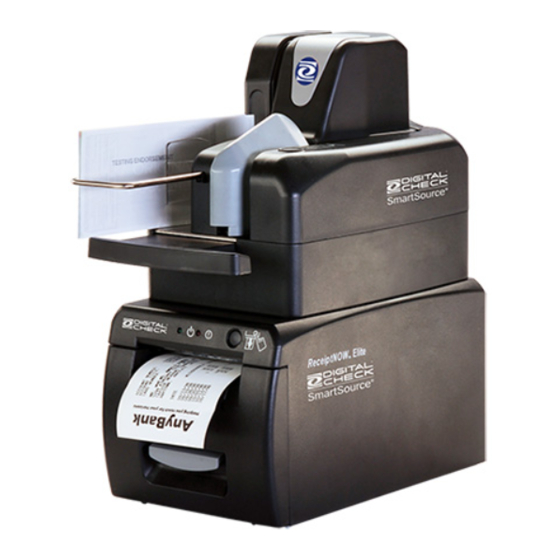
Digital Check SmartSource ReceiptNOW Elite Dépannage et triage - Page 6
Parcourez en ligne ou téléchargez le pdf Dépannage et triage pour {nom_de_la_catégorie} Digital Check SmartSource ReceiptNOW Elite. Digital Check SmartSource ReceiptNOW Elite 9 pages.

Important Things to Note When Using the ReceiptNOW Elite Printer
Make sure the power is off before plugging or unplugging the communication cable or performing operator maintenance.
Avoid static discharges when touching the print head or other electrical components on the printer.
Ensure a minimum time interval of 20 seconds is observed between powering the printer off and on.
A printer Self Test page identifies the unit's configuration and can be printed by powering on the printer with the paper feed
button held down.
Do not print without paper as this could cause damage to print head and printer roller.
To maximize print head life it is recommended that the lowest print density that meets the user's print quality requirements
should be used.
Self Test Sheet Printout
A printer Self Test page identifies the unit's configuration and can be printed as follows:
1) Make sure power cable is connected to the printer and the paper roll is loaded.
2) Make sure POWER INDICATOR LIGHT is off and printer is powered off.
3) Hold down the paper feed button while turning the printer on. The printer will perform a self-test and then print 'Press and
Release FEED key to print characters' and 'Press and Hold FEED key to configure the printer'. The printer will change to holding
state and PAPER INDICATOR LIGHT blinks.
4) When the self-test page is finished, press the FEED key briefly to print test characters or hold the FEED key down to configure
the printer. For specific function and operational approach for using the FEED button to configure the printer.
Sample copy of the ReceiptNOW printer Self Test page (sample print only – actual print may vary)
8227 4888-001 ReceiptNOW Elite Triage Script
