Epson 1925W - POWERLITE Multimedia Projector Manuel d'installation

Parcourez en ligne ou téléchargez le pdf Manuel d'installation pour {nom_de_la_catégorie} Epson 1925W - POWERLITE Multimedia Projector. Epson 1925W - POWERLITE Multimedia Projector 3 pages. Epson powerlite 1925w projector
Également pour Epson 1925W - POWERLITE Multimedia Projector : Manuel d'utilisation (47 pages), Manuel d'installation rapide (4 pages), Manuel de l'utilisateur (1 pages), Spécifications (4 pages), Instructions de mise à jour (4 pages), Déclaration de conformité (4 pages), Liste des pièces (1 pages), Brochure & Specs (4 pages), Manuel de l'utilisateur (25 pages), Manuel de mise à jour (8 pages), Manuel de l'utilisateur (25 pages)
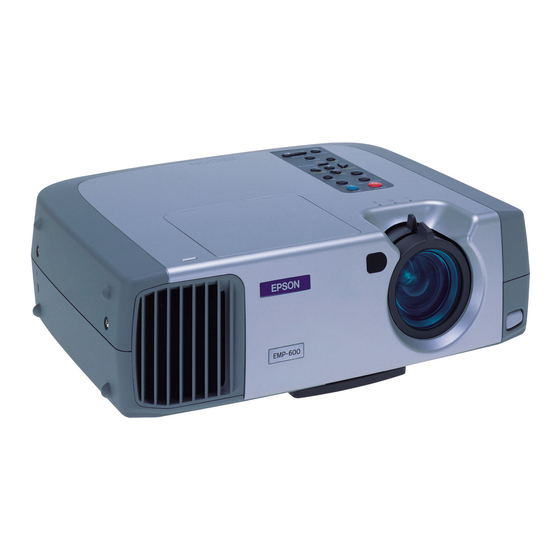
Epson 1925W - POWERLITE Multimedia Projector Manuel d'installation
Epson PowerLite 1925W

Air Filter and Vent Maintenance

The projector's air filter keeps the intake air clean, and its vents expel the exhaust. If dust collects on the
air filter or vents, clean them as described in this manual. Dust clogs may cause the projector to overheat
due to improper ventilation.
Be sure to clean the air filter and vents if you see a message telling you to do so. Also make sure nothing
blocks the vents.
Cleaning the Air Filter and Vents
Replacing the Air Filter
Cleaning the Air Filter and Vents
Be sure to clean the projector's air filter or vents if they get dusty, or if you see a message telling you to
clean them.
1. Turn off the projector and unplug the power cord.
2. Gently remove the dust using a small vacuum designed for computers or a very soft brush (such as
a paintbrush).
Note: You can remove the air filter so you can clean both sides of it.
3. If dust is difficult to remove or the air filter is damaged, replace the air filter.
Replacing the Air Filter
You need to replace the air filter in the following situations:
• After cleaning the air filter, you see a message telling you to clean or replace it
• The air filter is torn or damaged
You can replace the air filter while the projector is mounted to the ceiling, if necessary. The illustrations
below show the projector placed on a table.
1. Turn off the projector and uplug the power cord.
INSTALLATION HANDBOOK
Maintenance
1