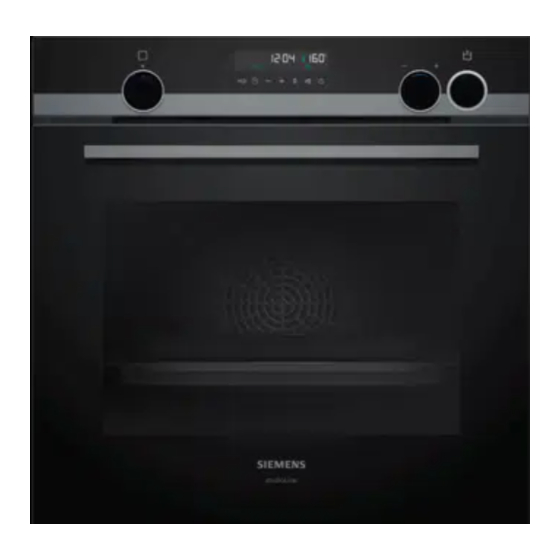
Siemens HB 78 6B Series Manuel de l'utilisateur et instructions d'installation - Page 7
Parcourez en ligne ou téléchargez le pdf Manuel de l'utilisateur et instructions d'installation pour {nom_de_la_catégorie} Siemens HB 78 6B Series. Siemens HB 78 6B Series 44 pages.
Également pour Siemens HB 78 6B Series : Manuel de l'utilisateur (40 pages)

4 Familiarising yourself with your appliance
4.1 Controls
You can use the control panel to configure all functions of your appliance and to obtain information about the operat-
ing status.
Note: On certain models, specific details such as col-
our and shape may differ from those pictured.
2
1
Buttons and display
The buttons are touch-sensitive surfaces. To se-
lect a function, simply press lightly on the relev-
ant field.
The display shows symbols for active functions
and the time-setting options.
→ "Buttons and display", Page 7
Function selector
2
Use the function selector to set the types of
heating and other functions.
You can turn the function selector clockwise or
anti-clockwise from the zero setting .
Depending on the appliance, the function se-
lector can be pushed in. Press on the function
selector to click it into or out of the zero set-
ting .
→ "Types of heating and functions", Page 8
4.2 Buttons and display
You can use the buttons to set various functions for your appliance. The display shows the settings.
If a function is active, the corresponding symbol lights up in the display. The clock symbol
change the time.
Familiarising yourself with your appliance en
1
3
Temperature selector
Use the temperature selector to set the temper-
ature for the type of heating and select settings
for other functions.
You can turn the temperature selector clock-
wise and anti-clockwise; it does not have a zero
setting.
Depending on the appliance, the temperature
selector can be pushed in. Press on the tem-
perature selector to click it in or out.
→ "Temperature and setting levels", Page 9
4
Water tank
Fill and empty the water tank.
→ "Filling the water tank", Page 13
→ "After every steam operation", Page 13
3
4
only lights up when you
7
