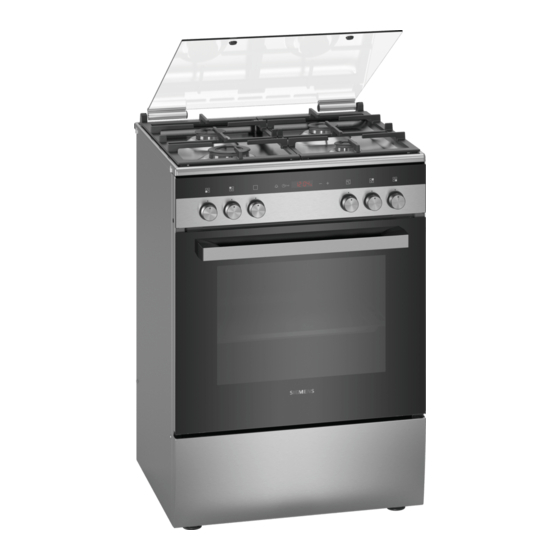
Siemens HX9R3AE50 Manuel de l'utilisateur - Page 26
Parcourez en ligne ou téléchargez le pdf Manuel de l'utilisateur pour {nom_de_la_catégorie} Siemens HX9R3AE50. Siemens HX9R3AE50 44 pages.

NL
racks
Cleaning Support
humidClean
The cleaning support is a quick alternative for cleaning
the interior in between. The cleaning support loosens
impurities due to the evaporation of soap suds. Then
they can be removed more easily.
Set up cleaning support
Required: the interior has completely cooled down.
:
Warning – Risk of burns!
Hot water vapor can be generated by water in the hot
interior. Never pour water into the hot interior.
Remove accessories from the interior.
1.
Mix 0.4 l of water with a drop of washing-up liquid and
2.
pour into the center of the cooking compartment floor.
Do not use distilled water.
Use the function selector knob to set the
3.
type of heating Bottom heat $ in.
Set 80°C with the temperature knob.
4.
Just as often on the button
5.
X
display
is marked.
a
With the button
or @ set the duration to 4.
6.
After a few seconds, the device starts to heat up
and the duration elapses.
When the time has elapsed, a signal sounds and the
display shows the time to zero.
Switch off the appliance and let it cool down for approx. 20
7.
minutes.
Clean interior after use
Attention!
When moisture is present in the interior for a
longer period of time, corrosion occurs.
After cleaning support, wipe out the interior and
let it cool down completely.
Required: the interior has cooled down.
Open the appliance door and absorb the residual
1.
water with a well-absorbing sponge cloth.
Clean smooth surfaces in the cooking compartment
2.
with a cleaning cloth or soft brush. Remove
stubborn residues with a
stainless steel scouring pad.
Remove limescale with a cloth soaked in vinegar.
3.
Then wipe with clean water and wipe dry with a soft
cloth, also under the door seal.
When the interior has been sufficiently cleaned:
4.
– To dry the interior, leave the appliance door open
in the half-open position, approx. 30°, for approx.
1 hour.
– To dry the interior quickly, turn the appliance on for
approx. 5 minutes with the door open 3D hot air :
and heating 50°C.
26
v
press until the
p racks
When properly maintained and cleaned, your
stretch you
appliance will continue to look good and function
properly for a long time to come. Here we explain how
to remove and clean the racks.
Remove and attach slide-in rails
You can remove the rails for cleaning. The oven must
be cool.
Remove slide-in rails
Rail for lifting
1.
and remove from the guides (Figure A).
2.
Then pull the entire rail forward
3.
and delete (Figure B).
4.
Clean the rails with soapy water and a cleaning
sponge. Use a brush for stubborn dirt.
Fixing hook-in grilles
Insert the hook-in grille into the rear socket first,
1.
press slightly backwards (Figure A)
and then place in the front sleeve (Figure
2.
B).
The slide-in rails fit left and right. Note that as in picture
B, heights 1 and 2 are at the bottom and heights 3, 4 and
5 are at the top.
