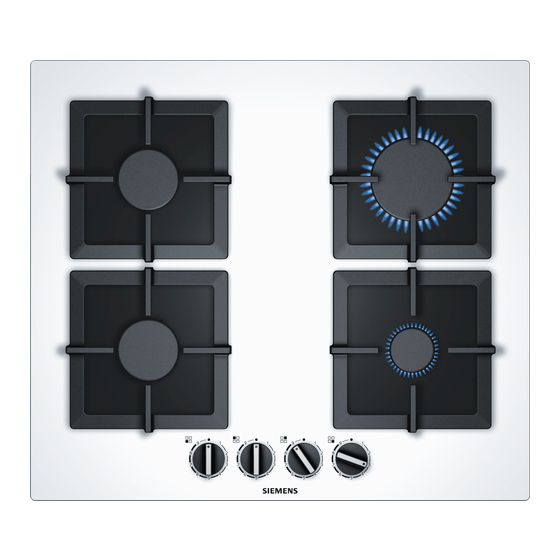
Siemens EC945RB91E Manuel d'instruction - Page 13
Parcourez en ligne ou téléchargez le pdf Manuel d'instruction pour {nom_de_la_catégorie} Siemens EC945RB91E. Siemens EC945RB91E 45 pages.

Cleaning and maintenance
Cleaning
Once the appliance is cool, use a sponge to clean it with soap
and water.
After each use, clean the surface of the respective burner parts
once they have cooled down. If any residue is left (baked-on
food, drops of grease etc.), however little, it will become stuck
to the surface and more difficult to remove later. The holes and
grooves must be clean for the flame to ignite properly.
The movement of some pans may leave metal residue on the
pan supports.
Clean the burners and pan supports using soapy water and
scrub with a non-wire brush.
If the pan supports are fitted with rubber rests, ensure that
these are also cleaned. The rests may come loose and the pan
support may scratch the hob.
Always dry the burners and pan supports completely. Water
droplets or damp patches on the hob at the start of cooking
may damage the enamel.
After cleaning and drying the burners, make sure the burner
caps are correctly positioned on the diffuser.
Trouble shooting
Sometimes certain faults detected can be easily resolved.
Before calling the Technical Assistance Service, bear in mind
the following advice:
Fault
The general electrical sys-
tem is malfunctioning.
The automatic switching
on function does not work.
The burner flame is not uni-
form.
The gas flow is not normal
or there is no gas.
The kitchen smells of gas. A gas tap has been left on.
The burner immediately
switches off after releasing
the control knob.
Possible cause
Defective fuse.
The automatic safety switch or circuit breaker has
tripped.
There may be food or cleaning products stuck
between the ignition sparkers and the burners.
The burners are wet.
The burner caps are not correctly positioned.
The appliance is not earthed, is poorly connected
or the earthing is faulty.
The burner components are not correctly posi-
tioned.
The grooves on the burner are dirty.
The gas supply is blocked by gas taps.
If the gas is supplied from a gas cylinder, check
that it is not empty.
Incorrect coupling of gas cylinder.
Possible gas leak.
The control knob was not held down for long
enough.
The grooves on the burner are dirty.
Caution!
Do not use steam cleaners. This could damage the hob.
■
If your hob is fitted with a glass or aluminium panel, never use
■
a knife, scraper or similar implement to clean the point where
it joins the metal.
Maintenance
Always clean off any liquid as soon as it is spilt. This will
prevent food remains from sticking to the hob surface and you
will save yourself any unnecessary effort.
Due to the high temperatures endured, the wok burner and the
stainless steel zones (grease drip tray, burner outline, etc.) can
change colour. This is normal. After each use, clean these
areas with a product that is suitable for stainless steel.
It is recommended that the cleaning product available from our
Technical Assistance Service (code 464524) is used regularly.
Caution!
The stainless steel cleaner must not be used in the area around
the controls. The (printed) symbols may be wiped off.
Do not leave acidic liquids (e.g. lemon juice, vinegar, etc.) on
the hob.
Solution
Check the fuse in the main fuse box and change it
if it is damaged.
Check the main control panel to see if the auto-
matic safety switch or circuit breaker has tripped.
The space between the ignition sparker and the
burner must be clean.
Dry the burner caps carefully.
Check that the burner caps are correctly posi-
tioned.
Contact the installation technician.
Correctly place the parts on the appropriate
burner.
Clean the grooves on the burner.
Open all gas taps.
Change the gas cylinder.
Turn off the taps.
Check that the coupling is sound.
Shut off the gas supply, ventilate the premises and
immediately notify an authorised installation techni-
cian to check and certify the installation. Do not
use the appliance until ensuring that there is no
gas leak in the installation or appliance itself.
Once the burner is on, hold the control knob down
a few seconds longer.
Clean the grooves on the burner.
13
