Cisco 7961 Manuel de démarrage rapide - Page 18

Parcourez en ligne ou téléchargez le pdf Manuel de démarrage rapide pour {nom_de_la_catégorie} Cisco 7961. Cisco 7961 21 pages. Multi-line ip phones
Également pour Cisco 7961 : Manuel de l'utilisateur (19 pages), Manuel de l'utilisateur (6 pages), Manuel de l'utilisateur (6 pages), Manuel de l'utilisateur (14 pages), Manuel de l'utilisateur (6 pages), Manuel de démarrage rapide (6 pages), Manuel de l'utilisateur (17 pages), Manuel de référence rapide (2 pages), Manuel de référence rapide (2 pages), Manuel de l'utilisateur (18 pages), Manuel de l'utilisateur (4 pages), Manuel de référence rapide (4 pages), Mise en place (11 pages), Manuel de référence rapide (1 pages), Manuel de l'utilisateur (2 pages), Manuel de l'utilisateur (2 pages), Manuel de l'utilisateur (2 pages), Manuel pratique (3 pages), Lettre (2 pages), Manuel de référence (3 pages), Manuel de référence rapide (2 pages), Manuel de démarrage rapide (2 pages)
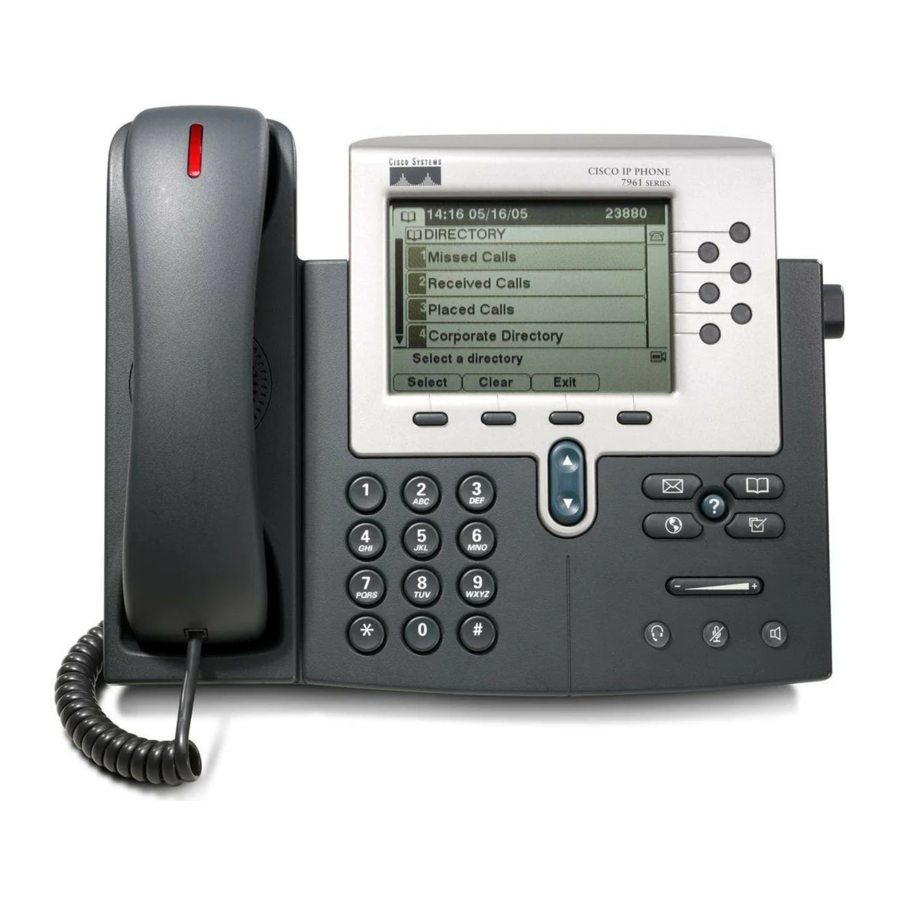
Cisco 7961 Manuel de démarrage rapide
Configure your Cisco Personal Address Book
From the Cisco Call Manager User Options Menu:
1. Click on Configure your Cisco Personal Address Book.
2. Click Add a New Entry.
3. Fill in the data fields with the requested information.
a. First Name and Last Name are both required.
b. If the contact is an on-campus employee, you should use their four-digit extension for
their work number (e.g. 4357).
c. Off-campus and long distance numbers should start with a ―3‖, especially if you are going
to use this number as a Fast Dial number (e.g. 3-1-573-341-4357 [you can use hyphens
to separate groups of numbers or you can leave them out—it will still work either way]).
4. Click Insert to update your address book.
5. Repeat this process as many times as you need to.
6. When you are finished adding contacts, click Return to the Menu to go back to the Cisco
CallManager User Options Menu.
Set up your Fast Dials
1. Click on Configure your Cisco Personal Address Book.
2. Click Fast Dials.
3. Click the first (Unassigned) slot. A new configuration window will pop open.
a. Choose whether it is a Personal Address Book Entry or a Directory Number.
b. If it is a Personal Address Book Entry, select a name and then choose which number you
want to associate with that name from the dropdown list.
c. If it is a directory number, simply enter in the number you want to associate with that Fast
Dial index. Note that long distance and off-campus numbers need to start with a ―3‖.
4. Click Insert when you are satisfied with the number you want for your Fast Dial.
5. Close the window when you are finished.
6. Repeat this process for each number you want to associate with a Fast Dial index. You can have
up to 99 Fast Dials for each IP phone.
7. To delete a Fast Dial, click the checkbox next to a Fast Dial number and then click Delete
Selected at the bottom of the Fast Dial list. You will be prompted with a dialogue box that deleting
an entry cannot be undone. Click Yes if you want to continue or No if you want to cancel the
deletion.
Detailed information on programming fast dials for your telephone can be found as follows:
1. Once you have logged into the website, click on View the User Guide for your phone (note that
this requires Adobe Acrobat Reader to view).
2. Click on the Bookmarks tab on the left-hand side of the window.
3. Fast Dial information is located under Managing Your Contacts on page 5-12 of the User Guide
18 – Quick Start Guide: Cisco 7941/7961 IP Telephone
MISSOURI S&T Information Techn
ology