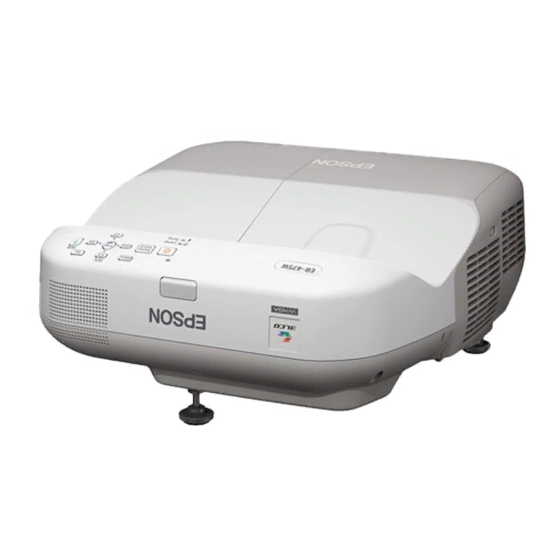
Epson EB-475Wi Manuel d'installation - Page 19
Parcourez en ligne ou téléchargez le pdf Manuel d'installation pour {nom_de_la_catégorie} Epson EB-475Wi. Epson EB-475Wi 37 pages. Ultra-short-throw interactive projectors
Également pour Epson EB-475Wi : Spécifications (2 pages), Spécifications (6 pages), Manuel de démarrage rapide (2 pages)

(2) Attach the slide plate to the projector.
Attach the slide plate to the projector using the M4 x 12 mm hexagon socket head cap bolts (x4)
supplied.
Slide plate
(3) Attach the 3-axis adjustment unit to the setting plate.
• Decide which position you want to install the 3-axis adjustment unit.
Mount it at the
stamp when the projection screen is less than 70 inches, or mount it at the
stamp when the screen is 70 inches or more.
: Less than 70 inches
• Tighten the M4 x 12 mm hexagon socket head cap bolts (x4) supplied to install the 3-axis adjustment
unit.
M4 x 12 mm hexagon socket
head cap bolts
Spring washer
Washer
Bolt installation positions
When the projection screen is less than 70 inches
M4 x 12 mm hexagon socket head cap
bolts
Spring washer
Washer
: 70 inches or more
When the projection screen is 70 inches or more
19
