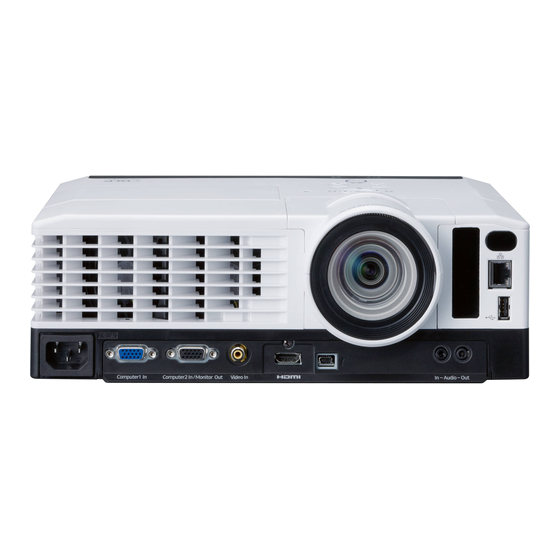
Ricoh PJ X4241N Manuel de l'utilisateur - Page 11
Parcourez en ligne ou téléchargez le pdf Manuel de l'utilisateur pour {nom_de_la_catégorie} Ricoh PJ X4241N. Ricoh PJ X4241N 24 pages.
Également pour Ricoh PJ X4241N : Manuel de l'utilisateur (28 pages), Notes à l'attention des utilisateurs (2 pages)

Installing and Fixing the Projector a Wall or Ceiling
• For safe operation, follow the warnings below when installing and fixing the projector a wall or
ceiling.
• Do not attempt to clean or replace parts for a machine. Doing so may cause it to fall
down, resulting in an injury.
• Do not open the lamp cover of a machine. Doing so may cause the lamp cover to fall
down. If the lamp is broken, pieces of glass may fall and cause an injury.
• Contact your sales or service representative to clean or replace parts for a machine.
• If a machine is installed and fixed on a wall or ceiling incorrectly, it may fall down and cause
an injury. Contact your sales or service representative to install and fix a machine on a wall or
ceiling.
For users
• Do not install the projector by yourself. Contact your sales or service representative to install
the projector to a wall or ceiling. When installing the projector lens-up, be sure to secure the
projector to the wall or ceiling using brackets.
For sales or service representatives
• Use brackets that are strong enough to support the projector. The projector weighs about 3.1
kg (6.9 lb.).
• The projector must be installed in a location that is sturdy enough to support the full weight of
the projector and brackets.
• Use only the screws (three M4×16 screws) provided with the projector to attach the brackets
to the projector.
• Use all three of the projector's screw holes to attach the brackets. The locations of the screw
holes are shown in the illustration below. Make sure that the screws are tightened firmly.
DHY001
Safety Precautions to Be Followed
9
