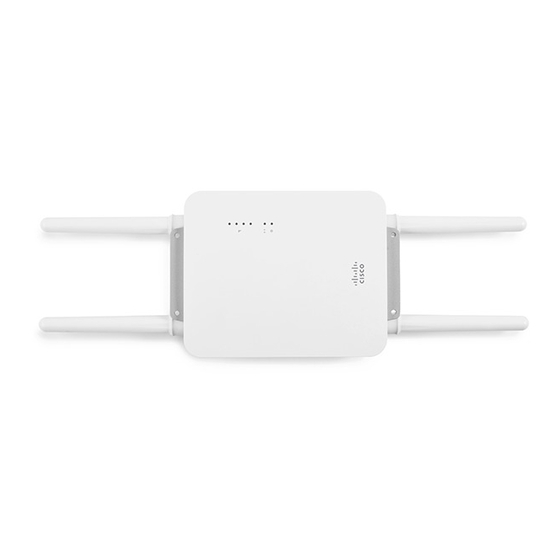
Cisco MERAKI MR66 Manuel d'installation - Page 6
Parcourez en ligne ou téléchargez le pdf Manuel d'installation pour {nom_de_la_catégorie} Cisco MERAKI MR66. Cisco MERAKI MR66 20 pages. Troubleshooting mesh communication between access points
Également pour Cisco MERAKI MR66 : Manuel (7 pages)

- 1. Package Contents
- 2. Understanding the MR66
- 3. Antennas and Ports
- 4. Pre-Install Preparation
- 5. Power Source Options
- 6. Factory Reset Button
- 7. Led Indicators and Run Dark Mode
- 8. Check and Upgrade Firmware
- 9. Collect Tools
- 10. Collect Additional Hardware for Installation
- 11. Installation Instructions
- 12. Choose Your Mounting Location
- 13. Verify Device Functionality and Test Network Coverage
- 14. Troubleshooting
- 15. Regulatory Information for MR66
Power Source Options
The MR66 access point can be powered using either a third-party 802.3af PoE switch or the Meraki 802.3af PoE injector
(sold separately).
Factory Reset Button
If the button is pressed and held for at least five seconds and then released, the MR66 will reboot and be restored to its
original factory settings by deleting all configuration information stored on the unit.
LED Indicators and Run Dark Mode
Your MR66 is equipped with a series of LED lights on the front of the unit to convey information about system
functionality and performance.
The MR66 may be operated in "Run Dark" mode for additional security and to reduce the visibility of the access point. In
this mode, the LEDs will not be illuminated. This mode may be enabled through Meraki Dashboard.
Pre-Install Preparation
You should complete the following steps before going on-site to perform an installation.
6
