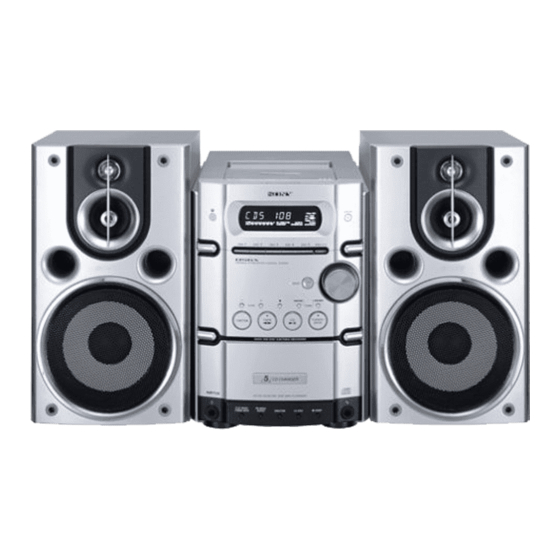
Sony CMT-HPX9 - Micro Hi Fi Component System Manuel d'utilisation - Page 8
Parcourez en ligne ou téléchargez le pdf Manuel d'utilisation pour {nom_de_la_catégorie} Sony CMT-HPX9 - Micro Hi Fi Component System. Sony CMT-HPX9 - Micro Hi Fi Component System 36 pages. Sony cmt-hpx9 stereo systems: product brochure
Également pour Sony CMT-HPX9 - Micro Hi Fi Component System : Manuel complémentaire (2 pages), Spécifications (2 pages), Manuel d'utilisation (36 pages)
Plug type B
Extend the FM lead antenna horizontally
Plug type C
North American models:
Connect using the white side
Other models:
Connect using the brown side
Note
To prevent noise pickup, keep the antennas away from
the system and other components.
3 For models with a voltage selector, set
VOLTAGE SELECTOR to the local
power line voltage.
Refer to the print on your system's
VOLTAGE SELECTOR for available
settings.
* Saudi Arabian Model: 120 – 127 V
8
GB
AM loop antenna
Extend the FM lead
antenna horizontally
AM loop antenna
4 Connect the power cord to a wall
outlet.
If the plug does not fit the wall socket,
detach the supplied plug adaptor (only for
models equipped with an adaptor).
To turn on the system, press ?/1.
Inserting two R6 (size AA)
batteries into the remote
Note
If you do not use the remote for a long period of time,
remove the batteries to avoid possible damage from
battery leakage and corrosion.
Tip
When the remote no longer operates the system,
replace both batteries with new ones.
When carrying this system
Perform the following procedure to protect
the CD mechanism.
1
Switch the function to CD.
2
Make sure that all discs are removed
from the system.
3
While holding down EX-CHANGE, press
?/1.
Check that "PLEASE WAIT" then "LOCK" is
displayed.
4
Unplug the power cord.